Razer Tarantula keyboard review
Unpacking the product took a while, particularly because of all the adhesive plastic that had to be torn off. These pieces of plastic protected the nice glossy finish of the Razer Tarantula keyboard. The glossy finish of the Tarantula looks awesome and like you can see in some of the pictures it's very mirror-like.
Unfortunately, this comes with a disadvantage - as soon as you touch the keyboard it starts collecting your fingerprint smudges. Besides being a fingerprint magnet, dust is also easily seen on this keyboard. So you'll have to clean it every once in a while if you want to keep it pretty.
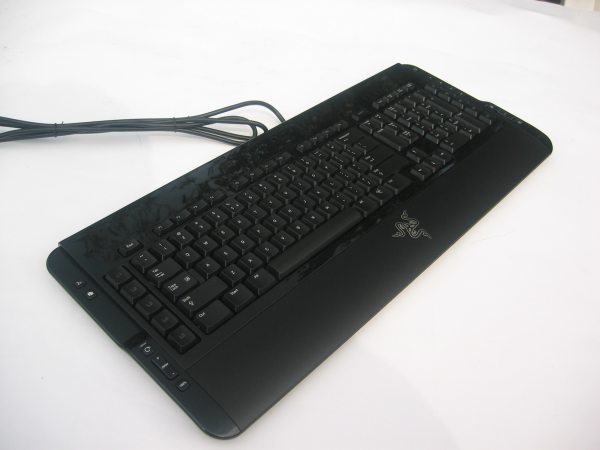
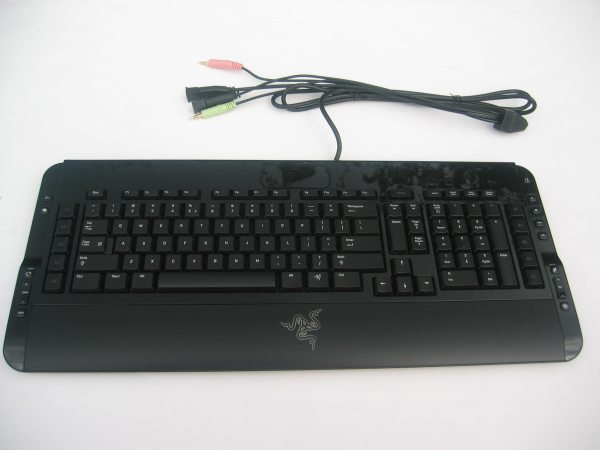
Just like other gaming keyboards like the Logitech G15 and the Saitek Eclipse, the Razer Tarantula takes up quite a lot of space on your desk. It's about 52cm wide because of all the extra buttons on the left and right sides. Besides the keys and the wrist rest, the whole keyboard has a nice glossy reflective finish.
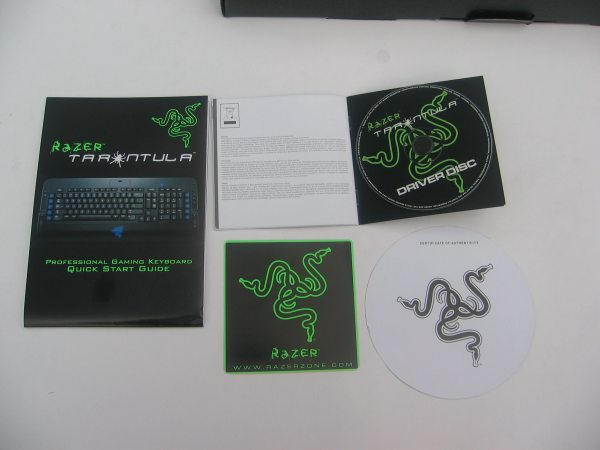
Besides the keyboard and the extra keys I also found these items in the box. A quick start guide, a master guide with a CD ROM with the Tarantula software on it, a Razer sticker and a certificate of authenticity.
Now lets take a closer look at the keyboard.
On top of the keyboard is the Battledock. Razer currently has two devices which can be connected to this docking station: the Battlelight and the Battleeye. The first item is a light which illuminates your keyboard and the second device is a webcam. Under the cover of the Battledock you can find a mini USB connector.
All keys of the Tarantula feature Hyperesponse for ultra-low latency response times and anti-ghosting to allow users to press up to 10 keys at a time without jamming.
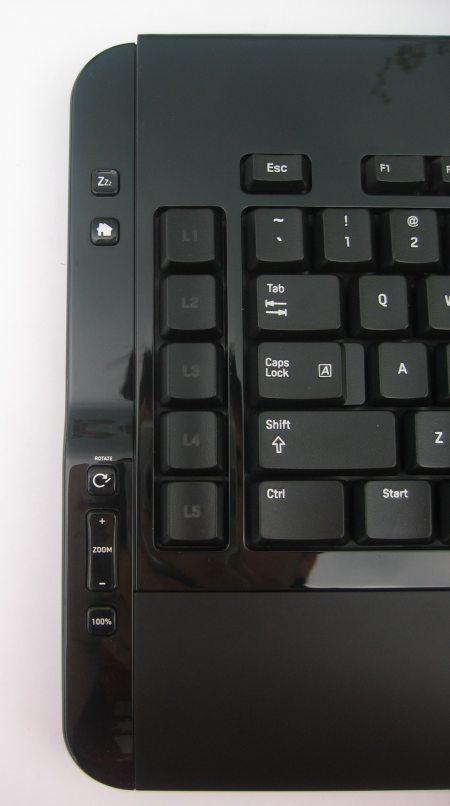
On the left side you can see a couple of multimedia buttons and five programmable buttons. Here's a description of the function of each multimedia key (from top to bottom): standby button, button to start your browser, a button to rotate an image, a switch to zoom in/out and a button to zoom back to the normal size of the image.

On the right side are five more programmable keys and some more multimedia keys. The first multimedia key is used to open your multimedia player. Under this button we can find a "play" button, "stop" button, previous and next song buttons, a "shuffle" button, a volume switch and a "mute" button.
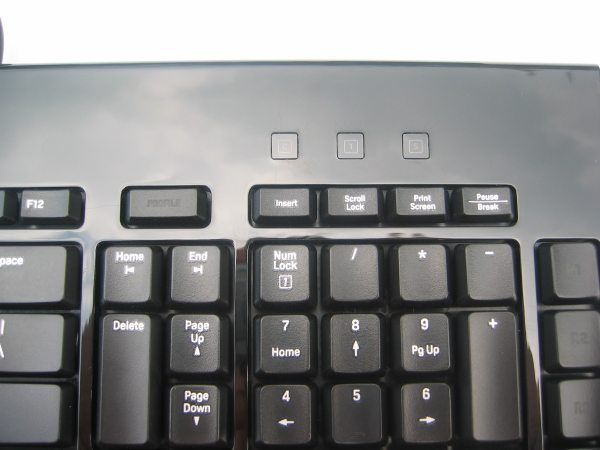
Besides the "PROFILE" button all the other special keys can be found on the left and right side of the keyboard. This button is used to switch between the profiles and keymaps which you can set up in the Tarantula's software. In the right corner are a couple of status LEDs. They are backlit with a blue LED, this looks nice but unfortunately the icons are hard to read from most angles.
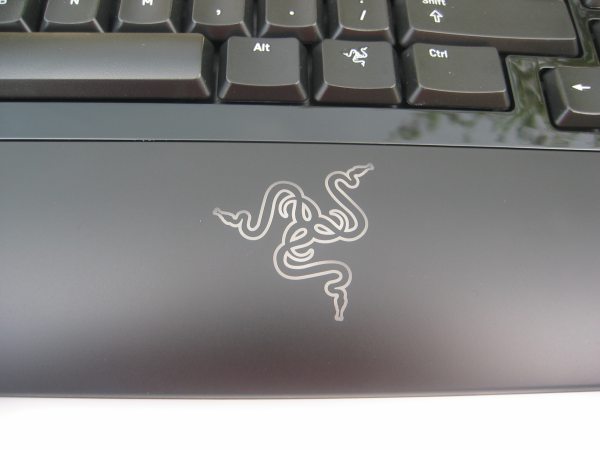
The wrist rest of the Razer Tarantula keyboard is integrated into the keyboard. This is quite extraordinary as most other keyboards feature a removable wrist rest. One of the advantages of this is that the wrist can't move during heavy gaming action. The wrist rest features a cool Razer logo which lights up blue. The light effect of the Razer logo isn't static, it fades in and out, looks a bit as if your keyboard is breathing.
Another nice touch on this keyboard is the "menu" button which you can find between the right ALT and CTRL buttons, this button also features the Razer logo. One thing I also noticed is that the "Windows" key doesn't have the Windows logo. Instead it just has the text "Start" on it.
 Previous Page (1/4)
Added: April 23rd 2007
Product reviewed: Razer Tarantula keyboard
Reviewer: Thomas De Maesschalck
Score: 9/10
Page: 2/4