Cooler Master Storm Sniper case review
Side panels
The left side panel has a large ventilation mesh to improve airflow, and offers support for one 200mm fan or two 120mm fans to give your graphics card(s) some more air to breathe. It's a shame Cooler Master didn't include an extra 200mm fan for the side panel, this isn't exactly a budget case.
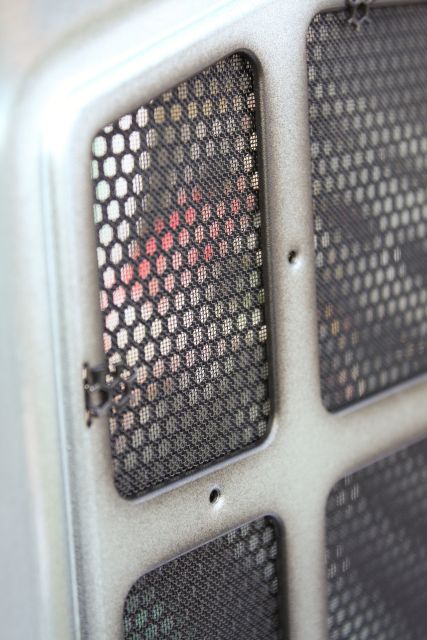
Like you can see in the picture the mesh is see-through, enabling you to view your hardware without opening your case.
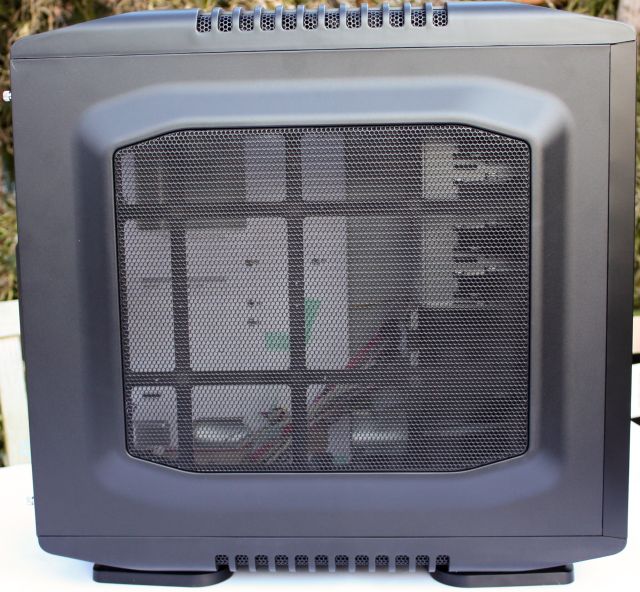
The side panel has a dust filter but smaller dust particles will probably still get through.
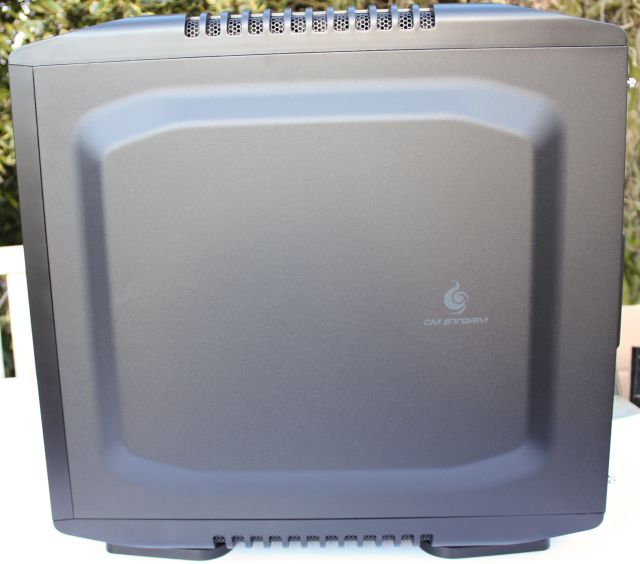
A small CM Storm logo can be seen on the right-side panel. This picture also clearly illustrates the extrusion of the side panels. This may aid you to stuff more cables between the side panel and the motherboard tray, but it does make the case look rather bulky.
Rear
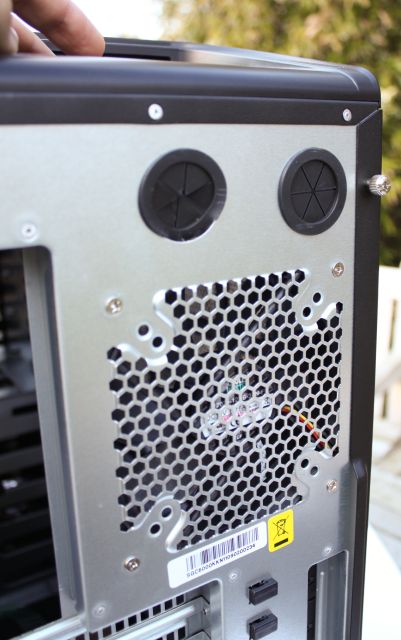
The rear of the case features honeycomb holes for a 120mm fan and premade holes for watercooling tubes. The PSU is bottom-mounted, and right next to the seven PCI brackets you can see the StormGuard, but more info about this feature will follow later in this review when we take a closer look at the interior.
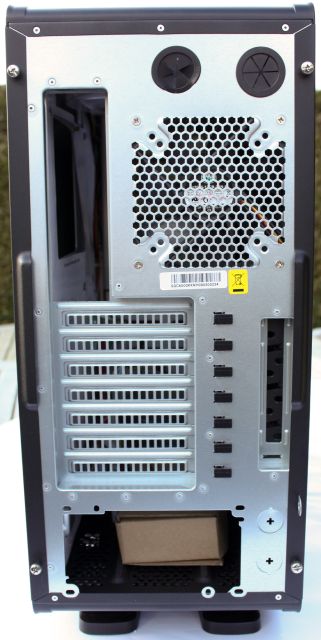
Both side panels are secured with two small thumbscrews. Another thing you can spot on the picture below is that the rear not only supports 120mm but also 80mm and 90mm fans.
Bottom
Four large rubber feet are located under the case, and if you don't like them it's possible to replace them with the four round rubber stands that are included in the accessories box. As you can see on the picture, the bottom is pretty open. There are lots of holes to suck in air and inside you can install an optional 120mm or 140mm bottom fan.
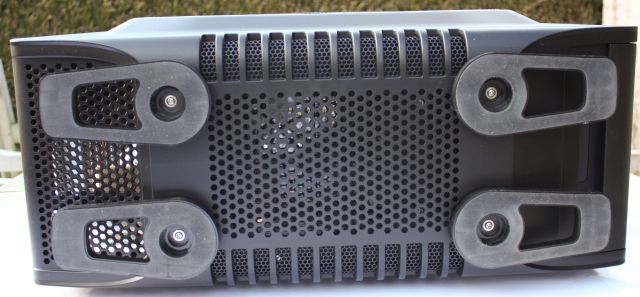
Inside the case are fan clips for a 140mm fan but if you want to install a 120mm fan in the bottom things will get a bit more complicated. You'll need to remove the plastic plate that covers the bottom and use screws to fasten the 120mm fan to the dust filter.
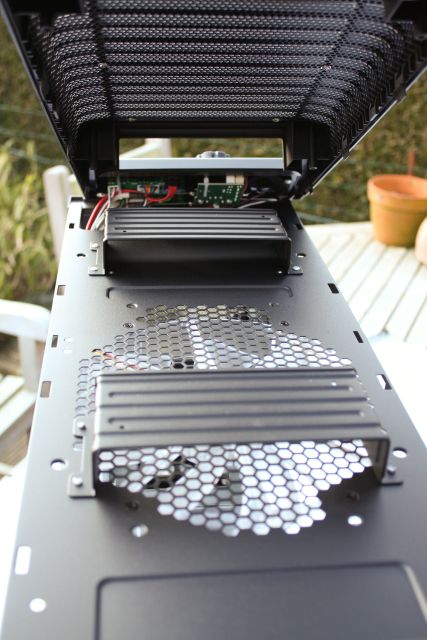
Top
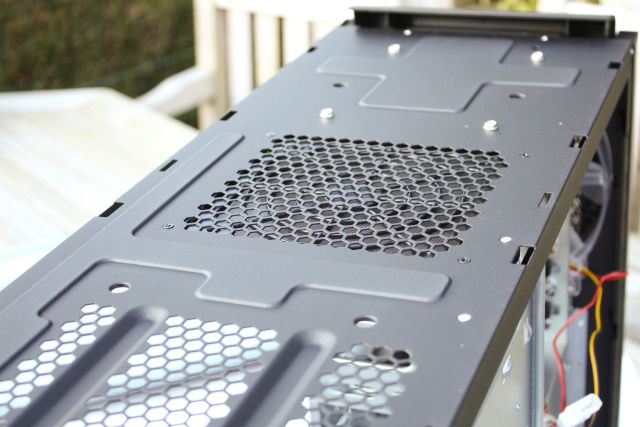
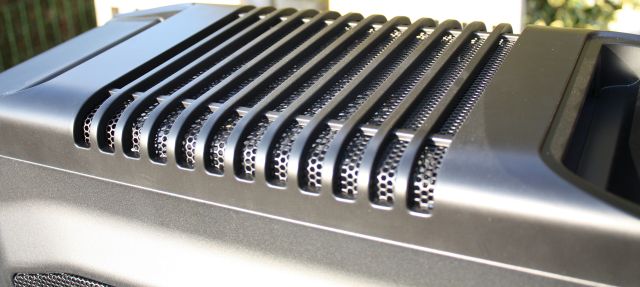
More vents are located at the top, this case is all about cooling. Additionally, the top has two handles that make it a bit easier to move the case. This comes in handy because at 10.6kg (+ the weight of your hardware) the case isn't exactly a light-weight.
Here's a picture with the plastic top removed, giving you a better look at the two metal handles.
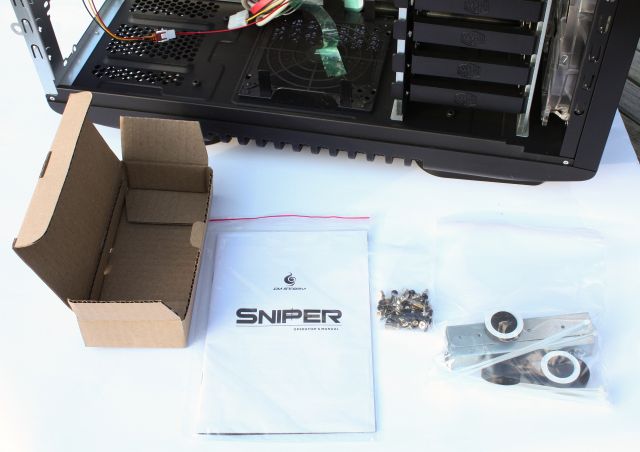
Accessories box
Before taking a look inside the Cooler Master Storm Sniper, here's a look at the included extras. There's a short manual and a little cardboard box with all sorts of screws that you may need during the installation. Additionally, it packs 12 cable ties, screws for the fan installation, four round foot stands, FDD tracks to install a 3.5" device in the drive bays, and two O-rings for tubing of watercooling.
 Previous Page (1/4)
Added: March 15th 2009
Product reviewed: Cooler Master Storm Sniper case
Reviewer: Thomas De Maesschalck
Score: 9/10
Page: 2/4