Cooler Master Aero 7 review
In the last few months, a big number of new CPU coolers has arrived. Everyone wants to get the best Cooler, the best heat sink. This time we're going to review the Aero7 from Cooler Master, the newest product of this company, introduced together with the Cooldrive3 (which we reviewed a few days ago). Now let's take a look at the Aero7, you're in?
Introduction
Since 1992, Cooler Master has developed a great assortment of thermal products. They're found with the mission to bring to best thermal products to the PC users. We already reviewed a few products of them, and we can assure the high quality of these. The headquarter is in Hong-Kong, and they have many other quarters all over the world. So, let's begin and take a look at they're newest product : The Aero 7 !

Specifications and Features
The Specifications :
| Fan dimension | 70 x 70 x 70 cm |
| Rated Speed | 1.900 - 4.500 RPM |
| Air Flow | 10.9 - 26.9 CFM |
| Rated Voltage | 7 - 13.8 V |
| Heat Sink Dimension | 71 x 71 x 38 cm |
| Heat Sink Type | Copper Skived Fin |
| Socket Type | A, 370, 462 |
| Air pressure | 2.9 - 20.3 H2O |
The Features :
The contents
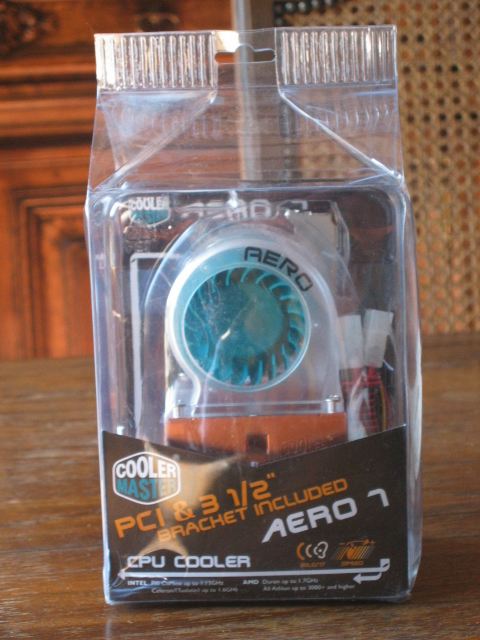
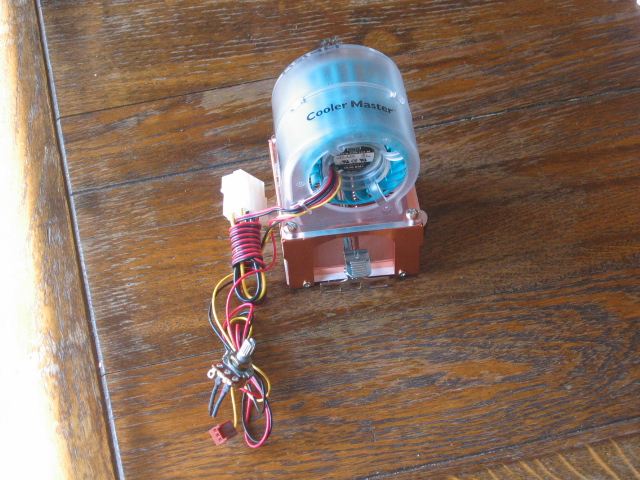
So what do you get if you buy the Aero7?
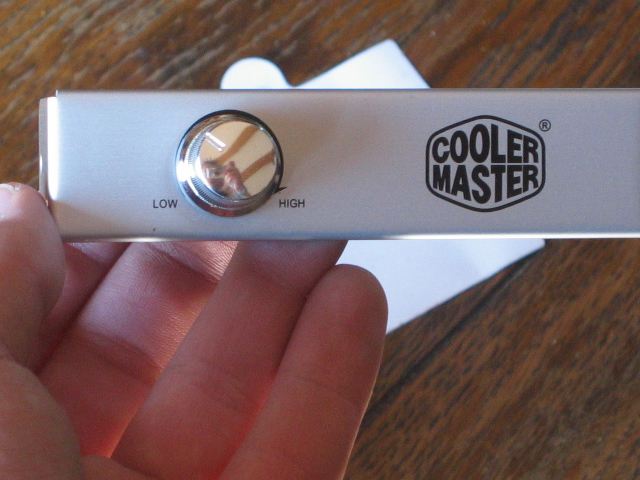
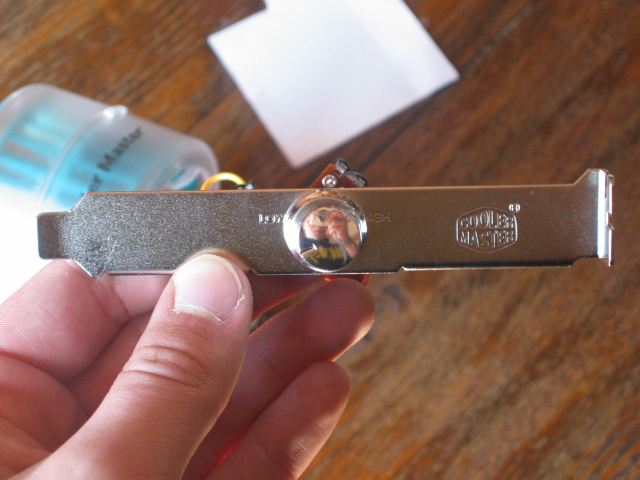
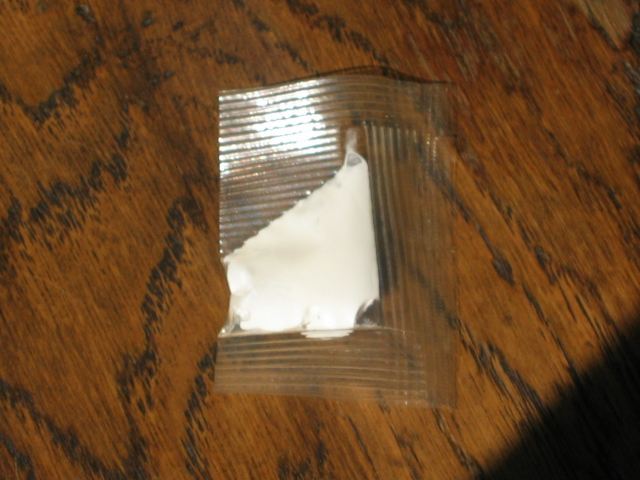
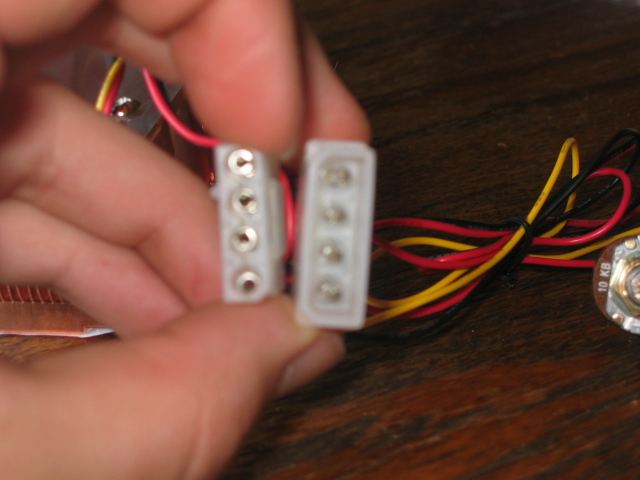
Well, the packet is rather big, and it's hard to open. If it's open you can see the cooler himself, a PCI and a 3.5" bay bracket, 4 black coloured screws, a silver knob, thermal paste, and a multilingual installation guide.

Testing
Let's begin to test the Aero7 cooler. First, you have to read the installation guide which is available in many languages:
So when we read this we can begin to install it. The installation is rather easy, you just have to push real hard to hook the rear onto the socket lug. It's also easy to install the PCI or 3.5" bracket.
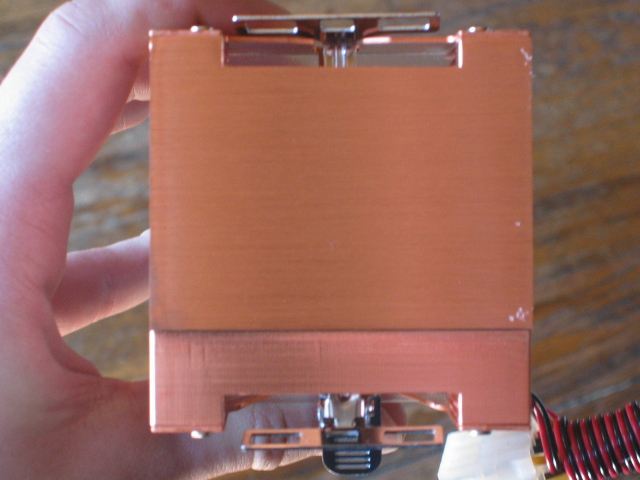
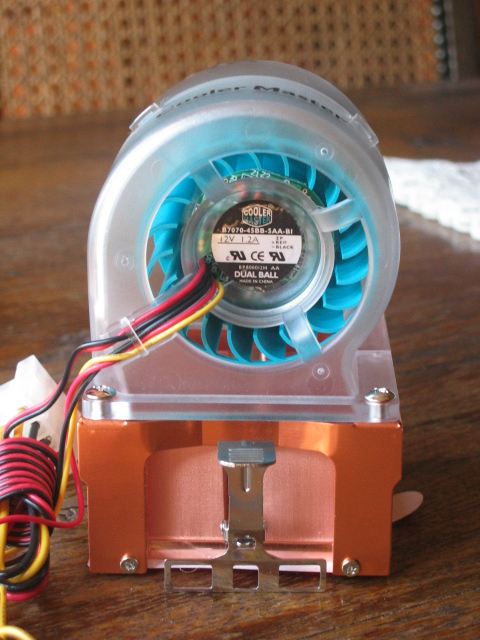
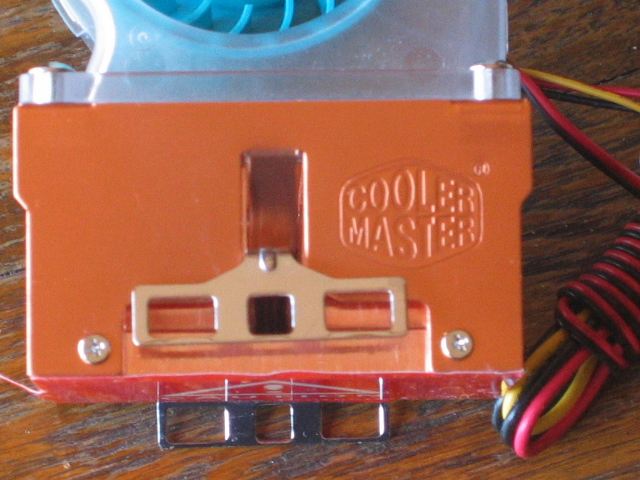
Now, let's take a look at the heat sink. The fins were done really good. They're completely intact with the copper block and the air comes trough better than with other CPU Coolers I got. The only bad thing about the heat sink is his weight: 0.620kg. This is a bit too much. We don't want to crack up our CPU don't we.
Like always the base of the heat sink is smooth, so this gives a reflective effect under the light. This is needed the ensure that the small micro gaps between the CPU and the heatsink are little as possible.

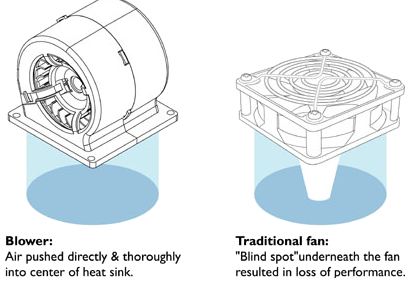
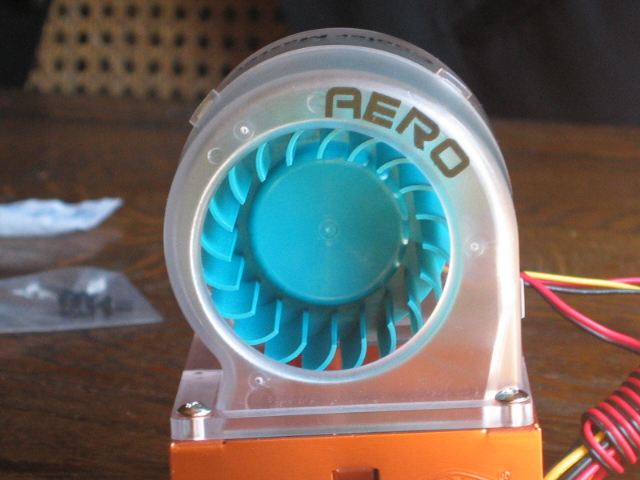
But the greatest thing about the Aero 7 is the new system of airflow. With the normal Fans the middle place of the heat sink was the warmest place, because only the edge of the fan produces more air pressure and volume comparing to the middle spot. So Cooler Master invented a new system. This system makes sure all the places of the heatsink are supplied with good air pressure and volume. This is shown clearly on the picture.

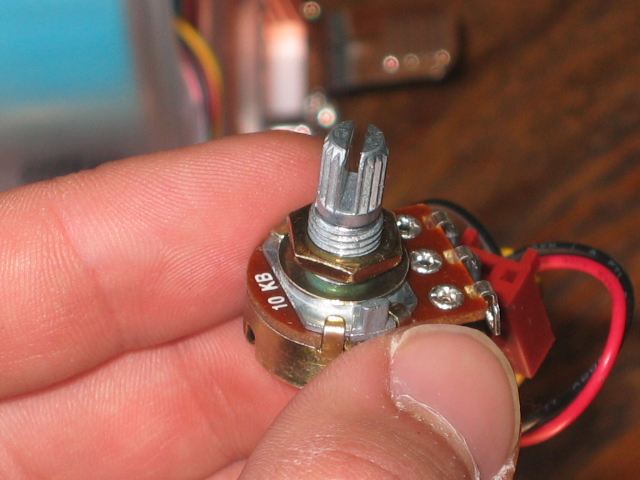
You can adjust the speed of the blower for your wishes. If you turn it to slow, you got a noise-free place. If you turn it to the maximum you'll be having a jet plane ready for take-off. But at least your CPU will be cool then.
Conclusion
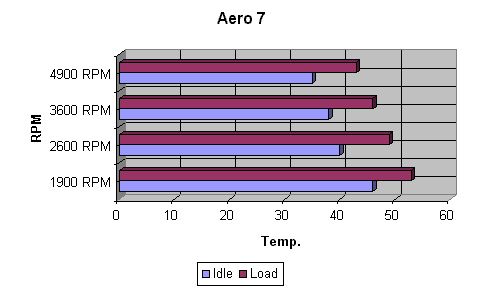
Another great product of Cooler Master. The heat sink is really fine, with a smooth and reflective base. You get a multilingual installation guide, and you can adjust the speed with a knob on the 3.5" or PCI bracket. Cooler Master also makes sure that the base of the heat sink is totally cooled. With a normal fan, the middle was some sort of a death place, without any cooling. This method makes sure the cooling is over the whole base of the heatsink. The Aero7 is also an excellent thing for the overclockers under us. 12°C lower, and I could easily do some overclocking to more than 250 Mhz than before. The only bad thing I could notice about the cooler is the heavy weight of the heatsink.
Pro's
Cons
Added: April 12th 2003
Product reviewed: Cooler Master Aero 7
Reviewer: LORDrazer
Score: 9/10