Noctua NH-U12F HSF review
Installation
The installation of the Noctua NH-U12F is fairly long but not really complex. The included installation manual is very detailed and contains all the installation steps to install this cooler on a system with a LGA775, Socket 754/939/940 and AM2 based motherboard.
I installed this cooler onto my Intel Core 2 Duo E6400 processor so I'm going to give you a quick look at how the LGA775 installation works.
For the first step you need to take your motherboard out of your case. If you already have a CPU cooler installed you obviously need to remove it first and if your motherboard uses a retention module for CPU cooler installation you have to remove it too.
You then have to decide how you want to install the NH-U12F on your motherboard, for each socket the kit includes the necessary tools to install the cooler in two different orientations. This allows you to choose how the airflow should go or gives you an alternative way to install the cooler in case there isn't enough clearance on your motherboard to use the other orientation.

Now that you've decided the orientation of the cooler you can go on with the installation of the mounting bars and the back plate. The installation manual shows exactly how you need to do this and warns you not to forget to put the 4 washers between the motherboard and the mounting bars to avoid damage to the motherboard.
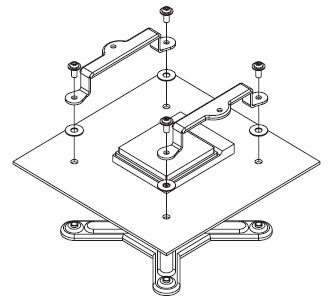
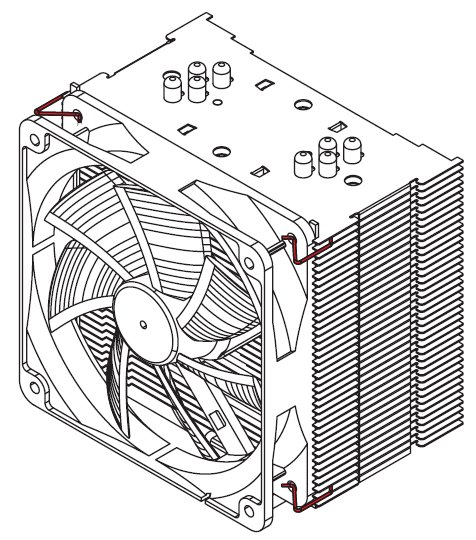
After that you need to attach the fastening brackets to the heatsink with the 4 short screws.
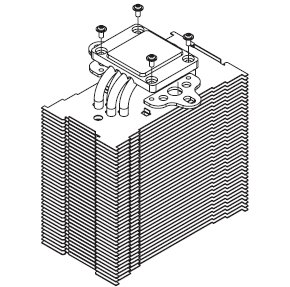
Now you're ready for the fourth step: the application of a thin coating of thermal paste on your processor. I used Arctic Céramique for this but you can also use the included thermal paste. Just make sure you don't apply too much thermal paste as this will decrease cooling performance. If there already are traces of thermal paste or thermal pads on your processor you first need to clean them off.
The next step is attaching the heatsink to the processor. You place the Noctua NH-U12F on the processor, in a way so that the mounting holes of the fastening brackets align with those of the mounting bars. Then screw the fastening brackets to the mounting bars employing the pressure springs and the respective screws. You then need to tighten the screws until they stop.
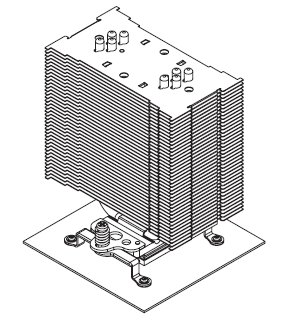
Now we're almost ready, the only thing that's left is the installation of the fan. Before you install the fan you need to stick the 2 adhesive anti-vibration strips onto the cooling fins. This dampens minor vibrations emitted by the fan and reduces noise.
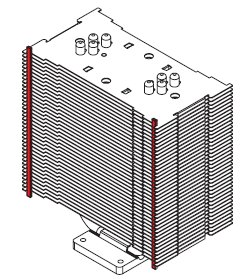
Now you're ready for the final step. You need to attach the fan to the heatsink using the two included steel clips. Just make sure that the fan blows onto the heatsink.
Now you need to put the motherboard back in your case and connect the fan to the motherboard, power supply of a fan controller. Noctua also included an Ultra-Low-Noise Adapter in the package, this adapter can be used to reduce the speed of the fan to further decrease the noise levels.
According to the features of the NH-U12F the installation only takes a few minutes but that's not really true. I haven't timed how long it took to install the heatsink but I bet it took at least half an hour. Removing the motherboard, removing the old heatsink, installing the NH-U12F and putting everything back in your case takes a fair amount of time.
Head over to the next page for the test results and the conclusion.
 Previous Page (2/4)
Added: June 1st 2007
Product reviewed: Noctua NH-U12F HSF
Reviewer: Thomas De Maesschalck
Score: 9/10
Page: 3/4