Fractal Design Define XL case review
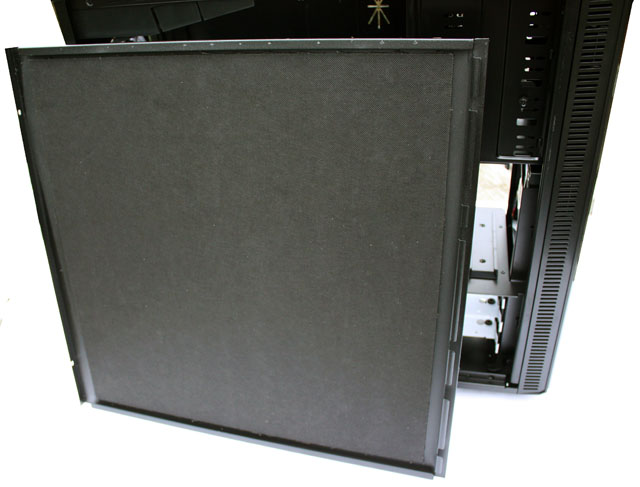
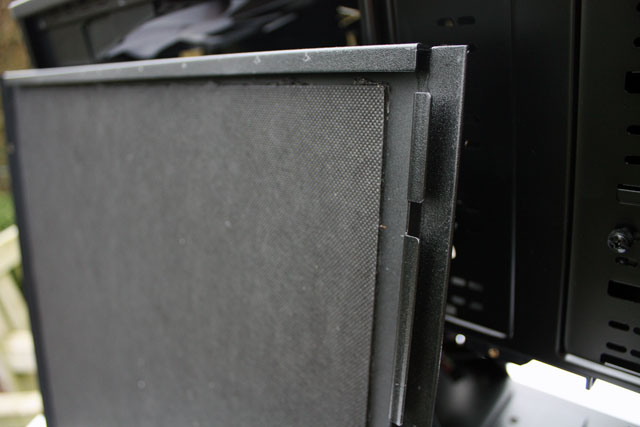
Next I remove the right side panel to take a look at the right side of the case. Just like the left panel, the right one is detached by removing the thumb screws. I also included a closeup of the noise absorbing bitumen material, it's a dense foam-like material and it's surprisingly thin.
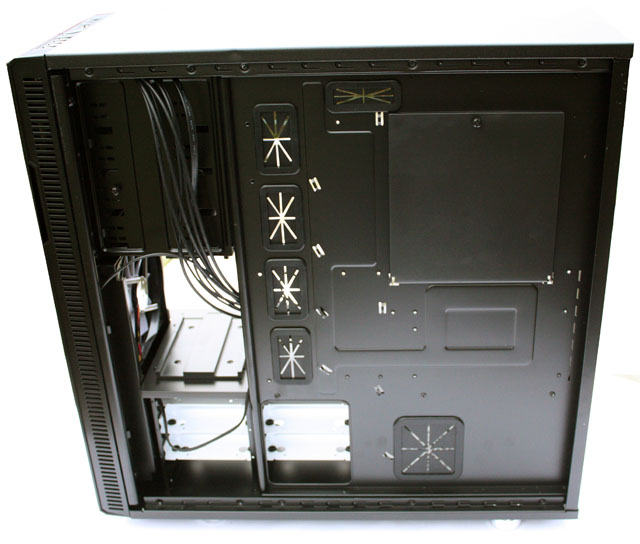
Despite all the cable management cut-outs, there's not really quite a lot of room between the motherboard tray and the right side panel. Also take notice that you need long PSU cables because of all the extra distance you'll have to cover if you want to properly arrange your cables.
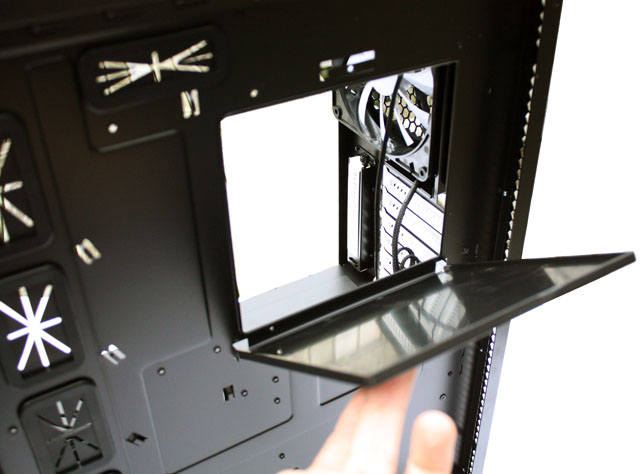
The CPU area has a cut-out enabling you to replace your CPU cooler without having to take the motherboard out of the case. The hole is covered with a hinged door, I guess the door's function is to make sure that air from the HDD thermal chamber doesn't flow into the main chamber.
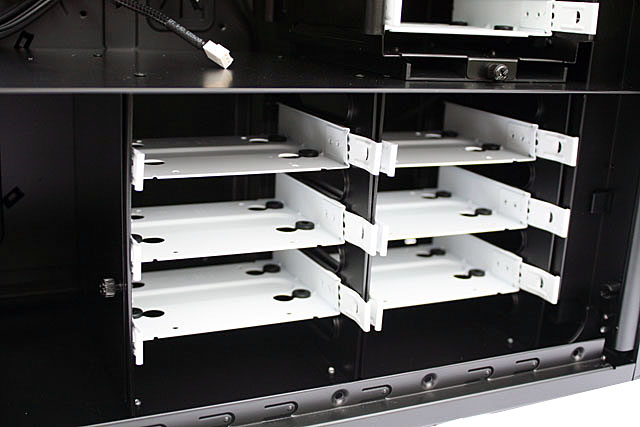
The HDD thermal chamber features six removable trays, but it's not possible to remove one of the cages if you need more space for your power supply. The metal plate that separates the HDD from the PSU chamber can be removed when you want to change the airflow direction in your case.
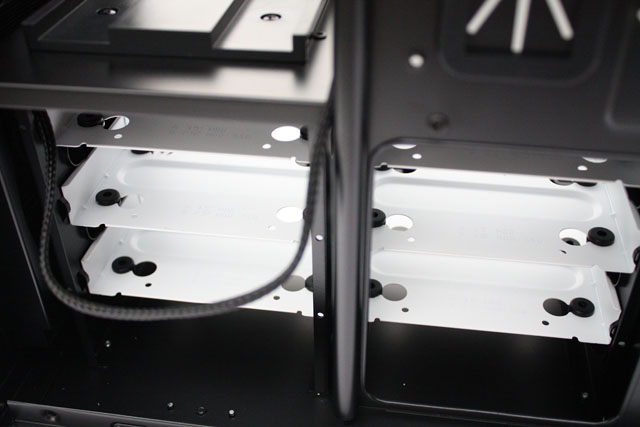
The next picture shows off the rear side of the HDD chamber, revealing how the cables need to be routed.
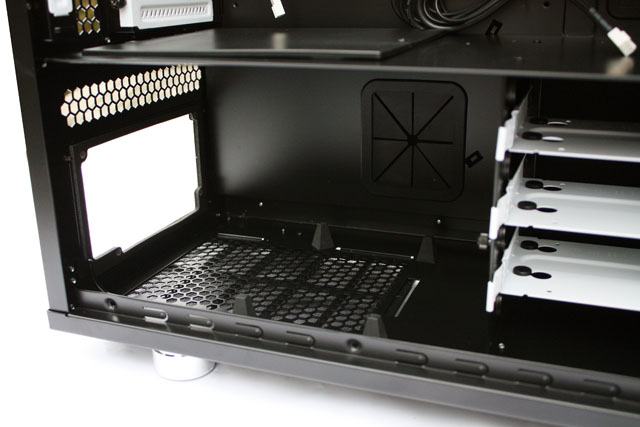
And to end our tour of the case, here's a picture of the PSU chamber, at the bottom is a removable dust filter to prevent dust from entering your power supply. To install the power supply, you need to remove the PSU backplate from the case and attach it to your power supply. The power supply is then put in place through the rear of the case, giving you a bit more manoeuvring space if you have a large PSU. The plate is lined with noise absorbing material to minimize noise.
 Previous Page (4/6)
Added: April 12th 2011
Product reviewed: Fractal Design Define XL case
Reviewer: Thomas De Maesschalck
Score: 7.5/10
Page: 5/6