BitFenix Ronin case review
Interior
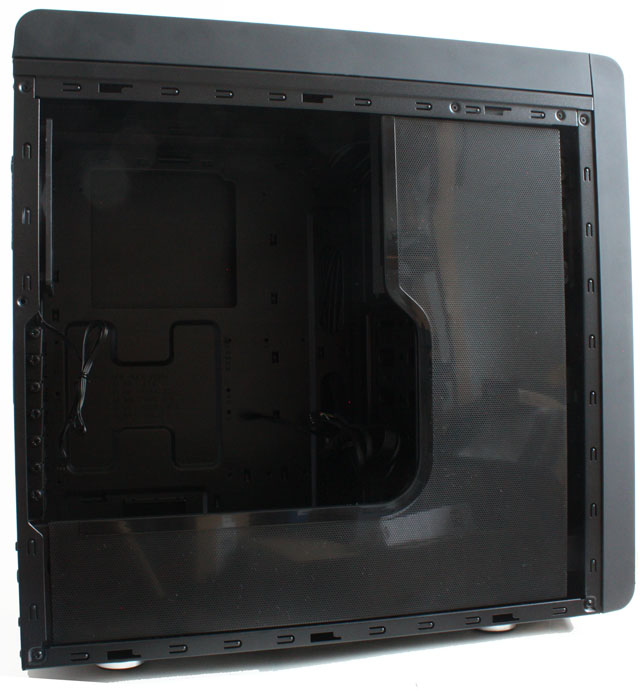
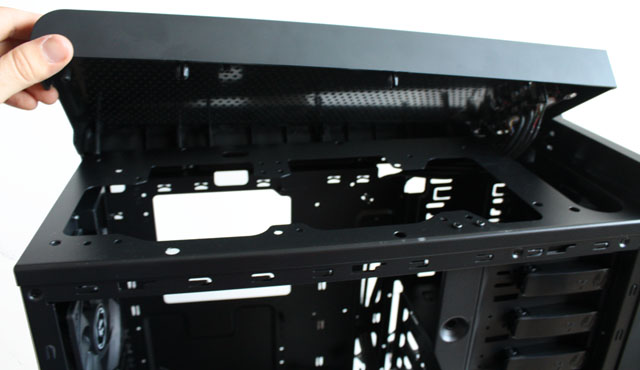
The first thing that you notice when you open Ronin is the large "Stealth Shield". The idea behind this cover is that BitFenix wanted to cater to people who want a large side window while also keeping in mind that some people do not desire a full-size window because it may expose ugly cables. So with Ronin you can choose whether you want to hide the bottom and right side of your case or not. The stealth cover is a bit hard to pop off if you try to pull it off with brute force, BitFenix advises to pop each of the pins holding it in place out one by one, but it's still a bit hard to get it off.
Ronin has an all-black design and pretty much everything inside the case, including the cables, is colored black.
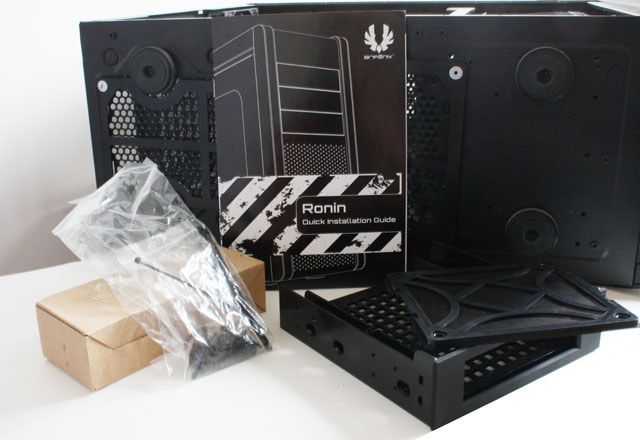
Inside the case we find a brief manual, a box with screws and cable ties, a dust filter for the optional second front fan, and a 5.25" to 3.5" adapter. The latter accessory has mounting holes for a 120mm fan.
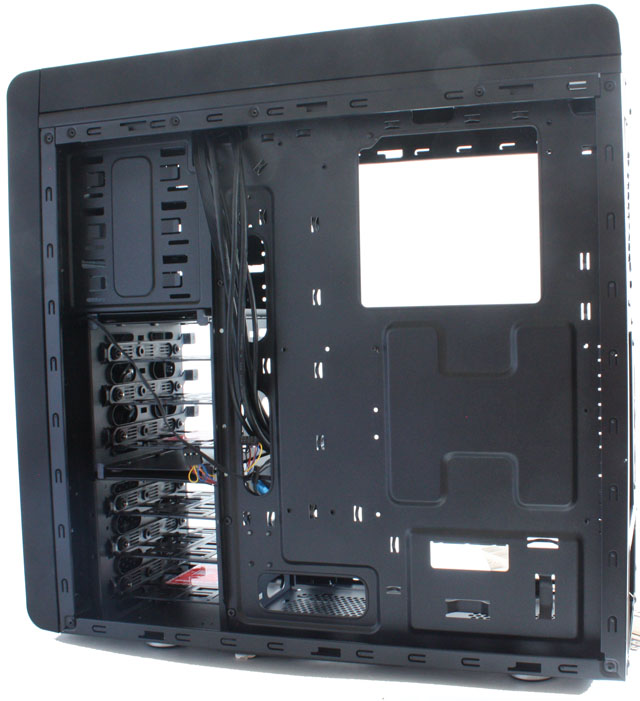
Here's how the interior looks with the stealth cover detached. The motherboard area features several cut-outs to make cable management easier and there's also a large cut-out to allow you to swap the CPU cooler without having to take the motherboard out of the case. All the holes for the motherboard standoffs are labeled so you don't have to guess where you need to place them for your motherboard form factor. The case supports all common desktop form factors, including ATX, mATX and Mini-ITX.
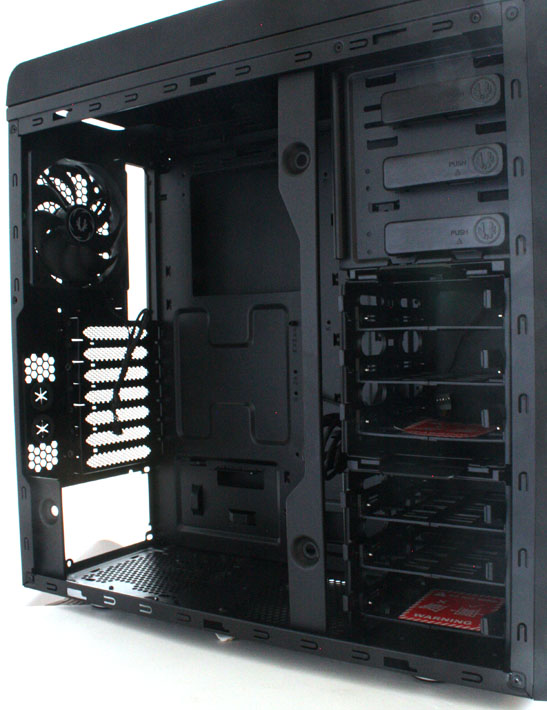
The drive bay area features three 5.25" bays and two removable storage cages that each hold three 3.5" HDDs or 2.5" SSDs. The installation of 5.25" and 3.5" devices is entirely tool-free.
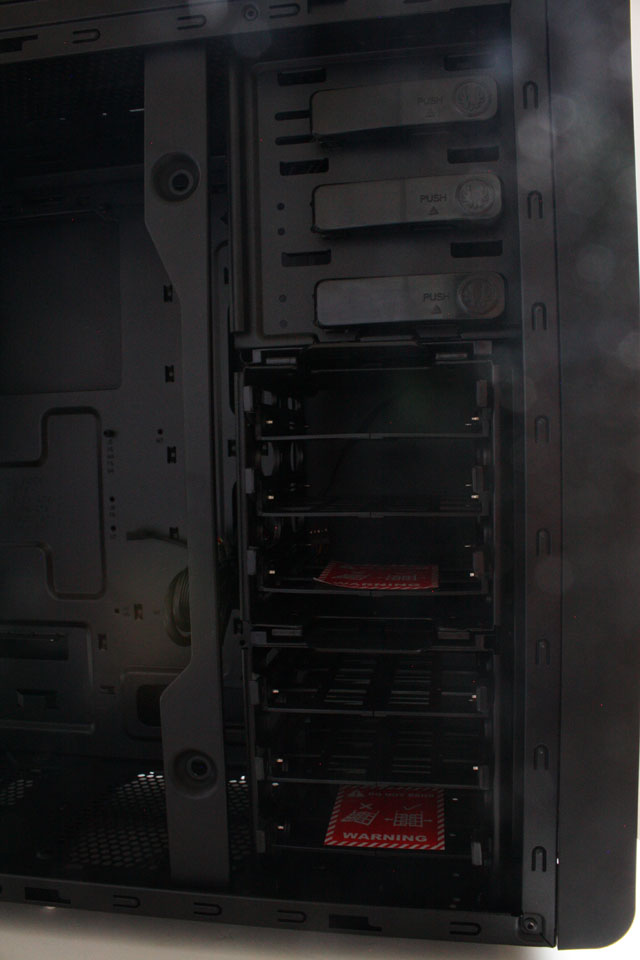
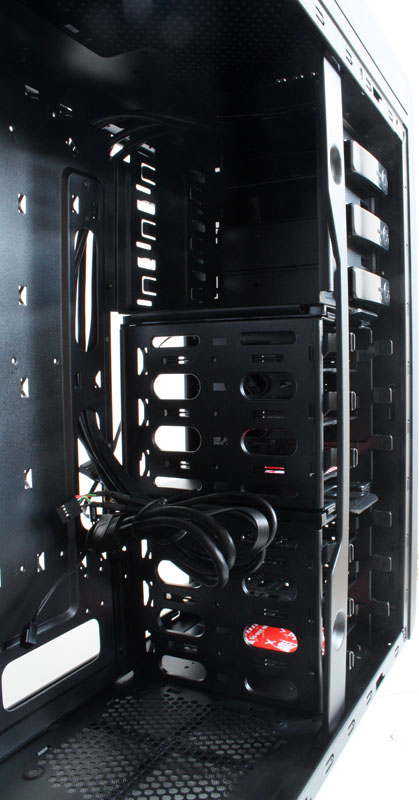
The installation of a HDD is very simple, you just need to pull the rails of the tray to the side to slide the HDD in place. As usual, the installation of a 2.5" SSD is done by securing the disk with four screws to the bottom of the storage tray.

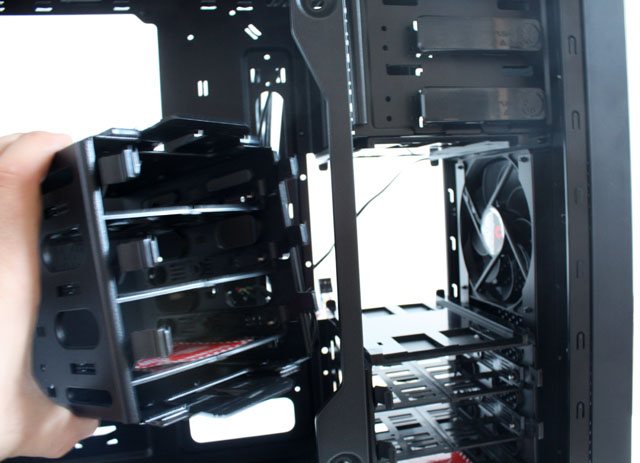
Both HDD cages can be removed to provide room for video cards of up to 420mm long. The upper cage can be removed without tools, while the lower cage is held in place with screws.
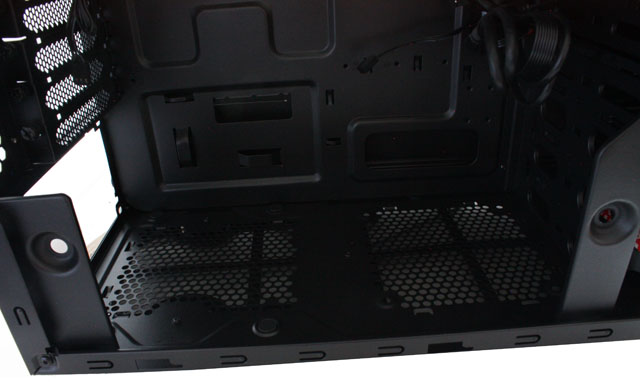
The PSU is mounted in the bottom of the case and right next to it you have room for an extra 120mm fan. Both the PSU and the optional fan are protected by a dust filter.
The rear features a 120mm BitFenix Spectre series fan. The seven PCI slot covers are secured to the case with black thumbscrews.

The right side of the case provides ample room for cable management, there's nearly 2cm of clearance between the motherboard plate and the right side panel.
The top has room for two 120mm or 140mm fans. The top cover is raised a notch above the chassis and there are large cut-outs so there's quite a bit of room to install a watercooler like the Corsair H100i or even thicker custom-loop 240mm radiators if you install the fans under the top cover.

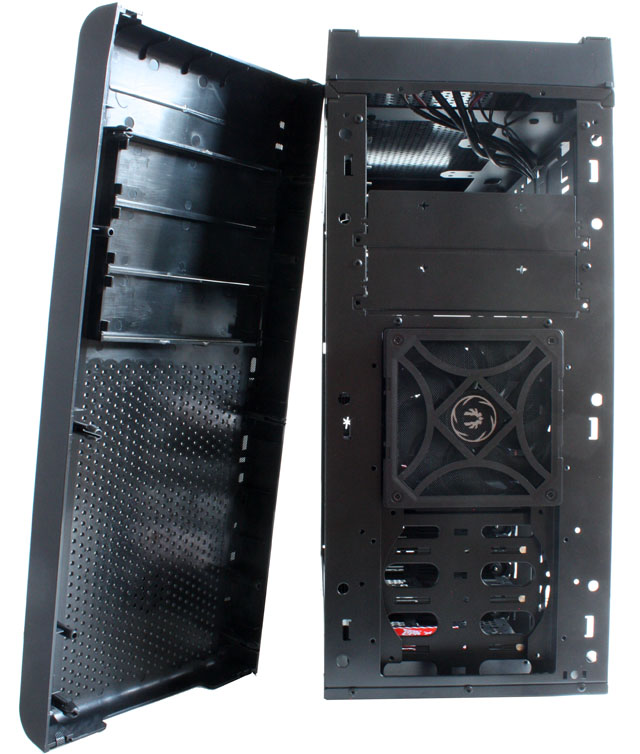
The front cover is quite hard to remove, it took me a couple of minutes to figure out how to get it off in one piece. On the picture below you can see there's one empty slot for a 120mm front fan, the dust filter for this fan is included with the case. Unfortunately, the front dust filters are secured with screws so they can't be easily removed but you can vacuum them.
 Previous Page (2/4)
Added: January 12th 2014
Product reviewed: BitFenix Ronin case
Reviewer: Thomas De Maesschalck
Score: 8.75/10
Page: 3/4