CoolerMaster Cooldrive 3 review
Cooler Master has introduced a brand new product, and we got one! Let's have a closer look at the Cooldrive 3 from Cooler Master!
Introduction
Cooler Master was founded with the mission of providing the industry's best thermal solutions. Since its establishment a decade ago, the company has remained faithful to this mission, emerging as a world leader in products and services for companies dealing with devices where heat issues must be resolved. Today we're going to take a look at the Cooldrive3, a HDD Cooler that seems to be silent, and seems to be reducing the surface temperature of your HDD. Let's check if that's true !

|
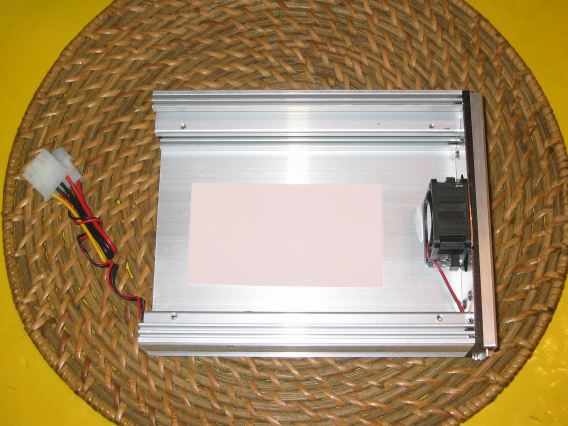
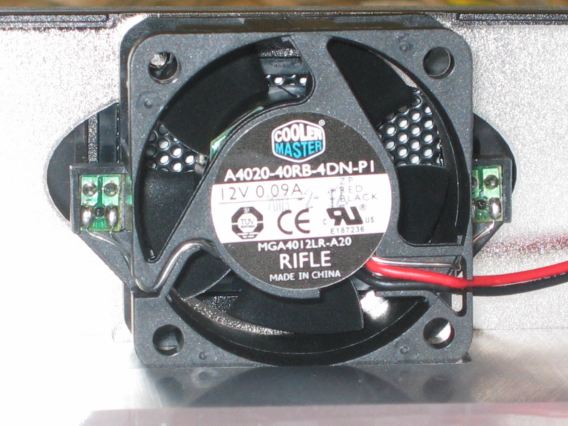
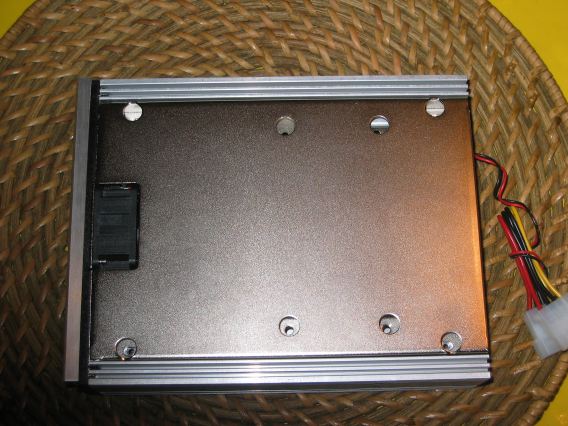
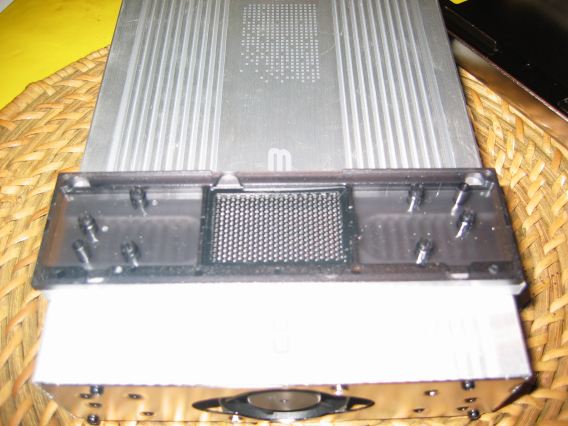
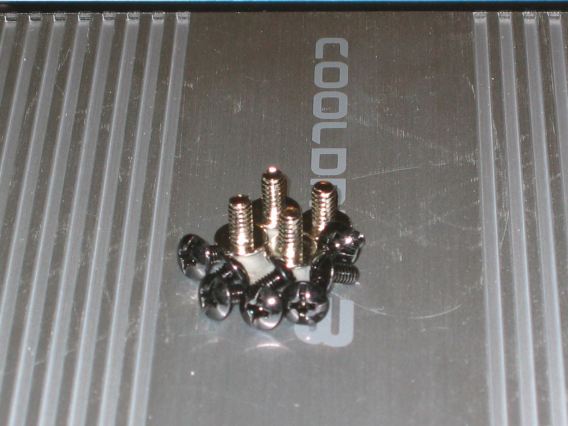
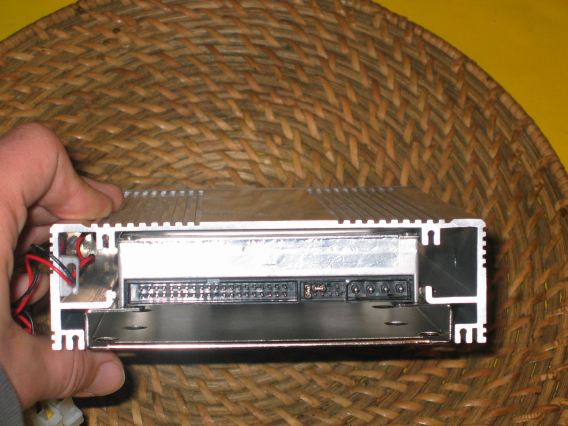
So, what do you get when you buy the Cooldrive3? Well, all packed in a very nice box, you get a Heat Sink chamber, a Hard Drive dock, 4 white coloured screws and 8 black coloured screws. It all takes about 1kg, and the installation guide is in 9 languages. On the bottom of the hard drive dock you see a light pink coloured piece of thermal tape. This helps to improve the heat transfer between your HDD and the Cooldrive3 and also helps reducing vibration noise from your HDD.
|
|
|
|
|
|

|
|
Let's check how to do the installation now. It seems to be very easy, let's check if that's true.
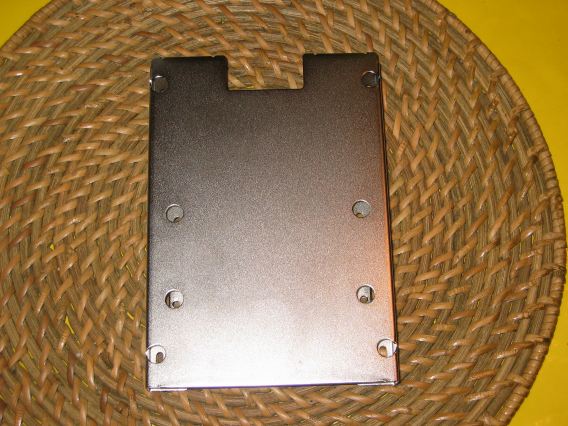
First you carefully flip your hard drive upside down, then flip the dock and line up the four holes, and secure them with the 4 white screws. It seems to be easy, but you first have to stick the screws through a large round hole before you can tether them well. If you can't get the screw at his place the first time, the screw drops on your hard drive. But for the rest, no hard problems with this first step of installing.
The second step: Also flip the Heat Sink Chamber upside down, secure the Hard Drive Dock onto the Chamber using 4 black screws. The same problem in here, you have to stuck the screws to a large hole before you can tether them good.
The thirth step: Connect a Molex connector from your PSU to the Molex cable of the Cooldrive 3. No problems here, you must be a very dumb guy if you cannot connect the power plug ;-) .
The fourth and last step: Insert the Cooldrive3 into an empty 5.25" bay, secure it with the remaining 4 black screws. Do not forget to connect the IDE or SCSI cable and the power connector from the power supply to your HDD. No hard problems in here, just a very dumb guy cannot do it.
|
|
Features
Specifications
|
|
|
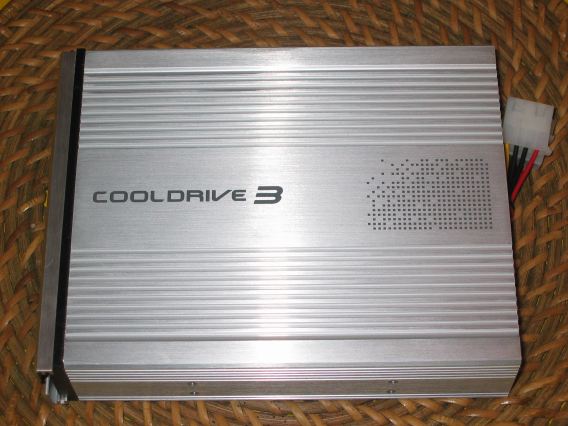
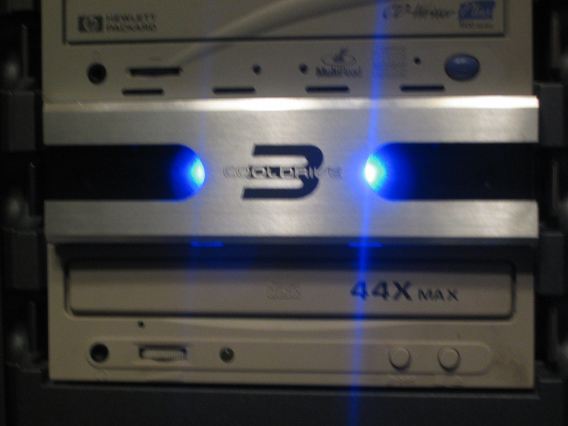
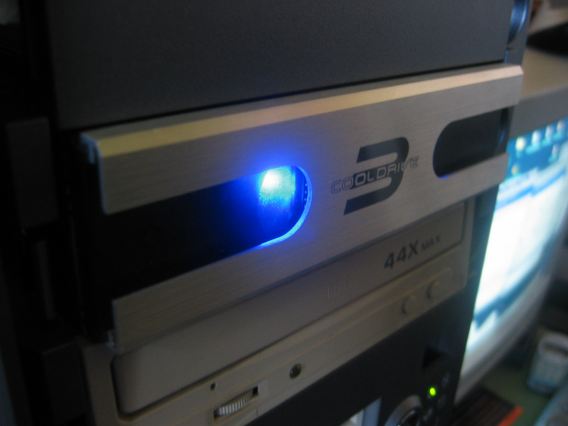
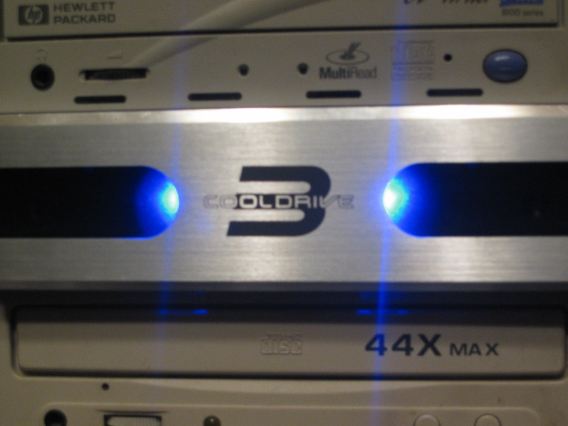
When we take a closer look at the Cooldrive 3 you can see there's a small fan, a filter, and a Molex connector. You can remove the front panel, and clean the filter. The 2 blue LEDs give a nice look to the front of your chassis but they're a little bit too bright when you look right in front of them. You're hoping that it reduces the noise and that it reduces the surface temperature of your HDD ( see later in the review) . The installation guide is very clear, with 3 Asian languages, German, English, Spanish, France, Italian and Portuguese.
This is the way to clean the filter :
When I cleaned the filter I got the following remarks. It's not easy to remove the front panel, you can easily cut your finger. The other steps were easy, but when you restore the front panel you have to push hard to get it in its place. Another good thing is that it really helps to remove dust. After 3 days my filter was full of dust.
Testing
Now it's time to do some testing stuff ;-) .
After the installation (remarks in Installation topic ), I started my PC. I checked if the noise really was lower. And yes it was! Almost half of the noise I normally got was removed. The 2 LEDs shined lovely in the front.
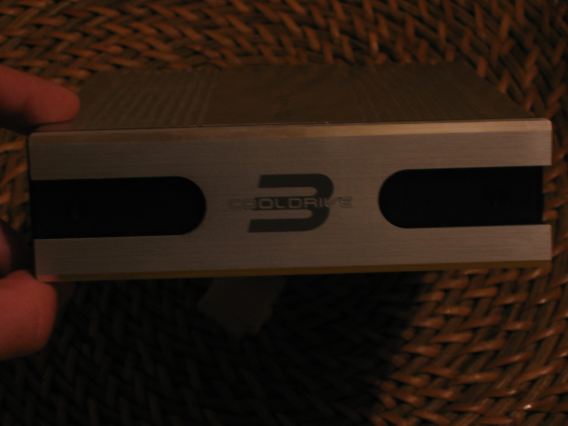
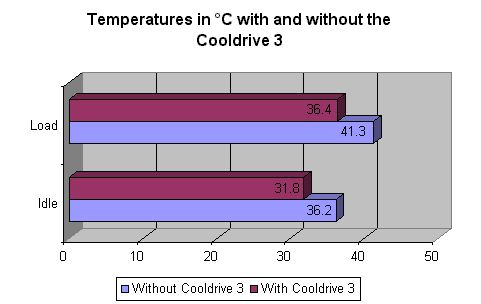
Here you can see the differences I noticed with the Cooldrive3, the overall case temperature was barely lowered, however. It's a very good product of Coolermaster, with a nice Cooldrive3 logo in the middle of the front panel.
Conclusion
Cooler Master surprises us again with the Cooldrive3. All packed in a nice box, the Cooldrive 3 reduces the hard drive noise and the surface temperature of your HDD. With 2 blue LEDs on the front panel, it also looks very cool. You can clean the filter, just make sure you don't cut your finger by removing the front panel like I accidentally did. The installation is simple, but a bit too hard to get the screws to the right place. The Cooldrive3 fits any 5.25" drive bay and supporters both IDE & SCSI standards. It's also suitable for ANY brand-name hard drive! You won't regret it if you buy a Cooldrive3!!
Pro's
Cons
Added: April 7th 2003
Product reviewed: CoolerMaster Cooldrive 3
Reviewer: LORDrazer
Score: 9/10