Zalman HD160 HTPC Case review
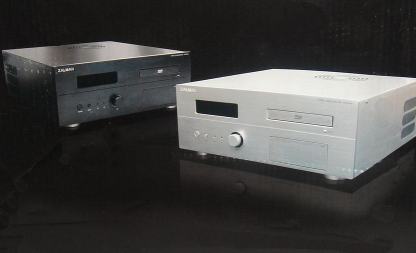
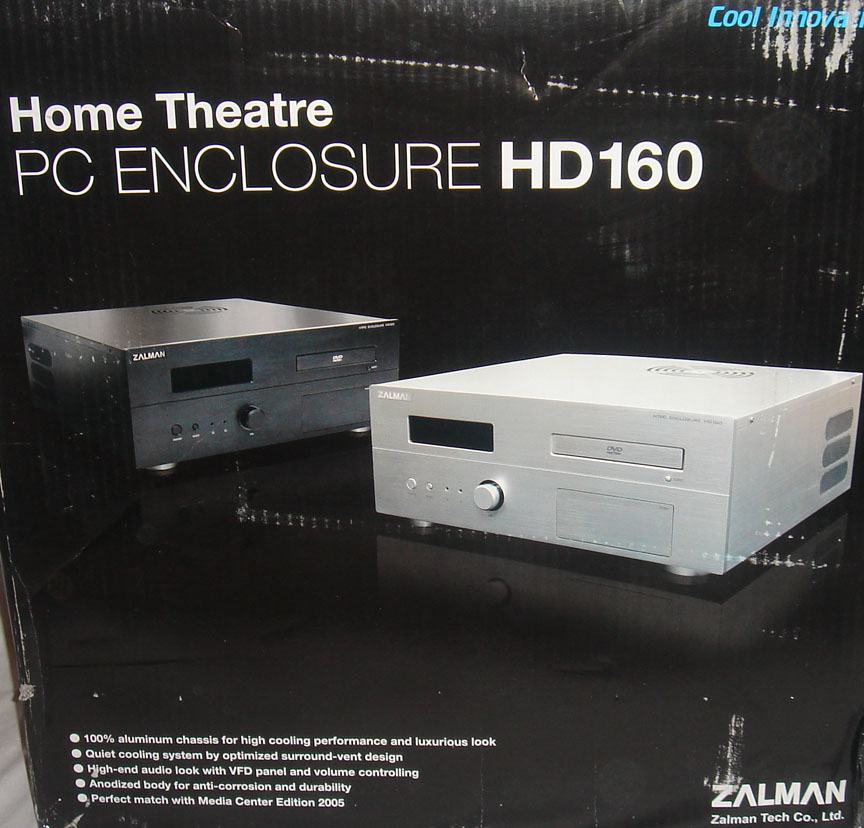
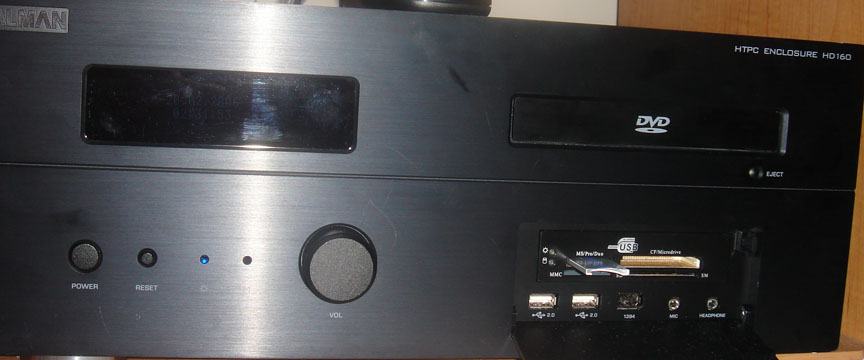
I recently had a chance to review Zalman's Home Theatre PC Enclosure HD160. It motivated me to go ahead and turn my own personal PC into a "Media Cener" PC. The entire chassis is 100% brushed aluminum and it sits horizontally which allows it to blend right into the rest of your home theatre equipment, and gives the system a very luxurious look. It comes complete with a volume control knob and a card reader panel right on the front of the case. Here are some of the case dimensions and the specifications:
- Enclosure Dimensions (L*W*H): 435mm * 420mm * 160mm
- net Weight: 4.8kg (10.6lb)
- TDP (Thermal Design Power): Up to 130W for Quiet Cooling
- Construction Material: All Aluminum Chassis
- Motherboard Compatibility: ATX, Micro ATX
- PSU Support: ATX PSU
- PCI/AGP Card Support
- Full Size Drive Bays
- 4 * 3.5” Internal Drive Bays
- 1 * 3.5” External Drive Bay
- 1 * 5.25” External Drive Bay
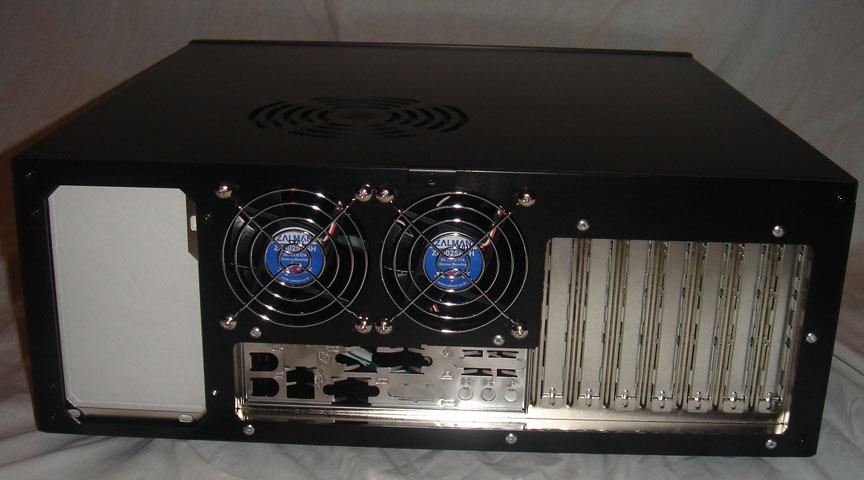
- 2 * 80mm Rear Exhaust Fans
- ZM-MC1 Multi Connector
- Expansion Slots: 7 Slots
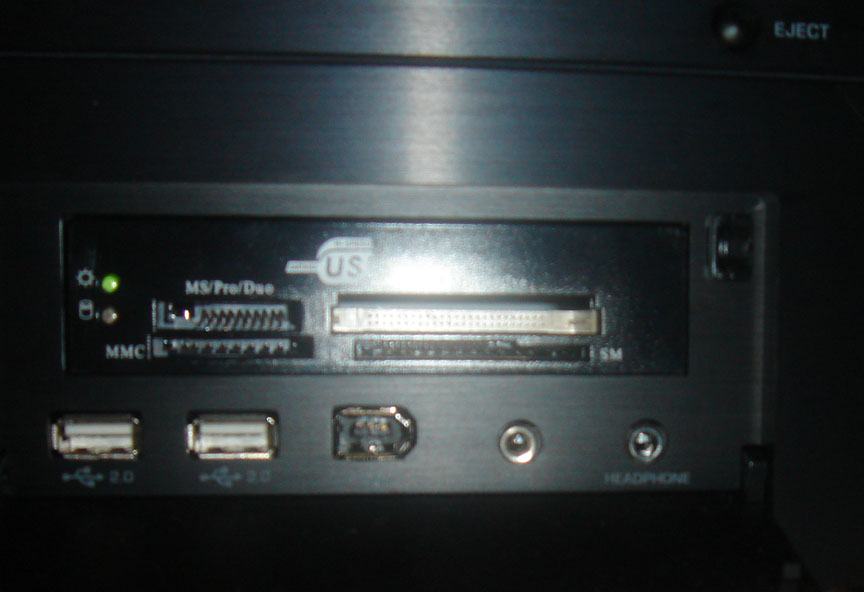
- Front I/O Ports
- 2 * USB Ports
- 1 * Firewire (1394) Port
- 1 * MIC
- 1 * Headphone
- Available Colors: Black and Silver
- Card Reader: 17 in one

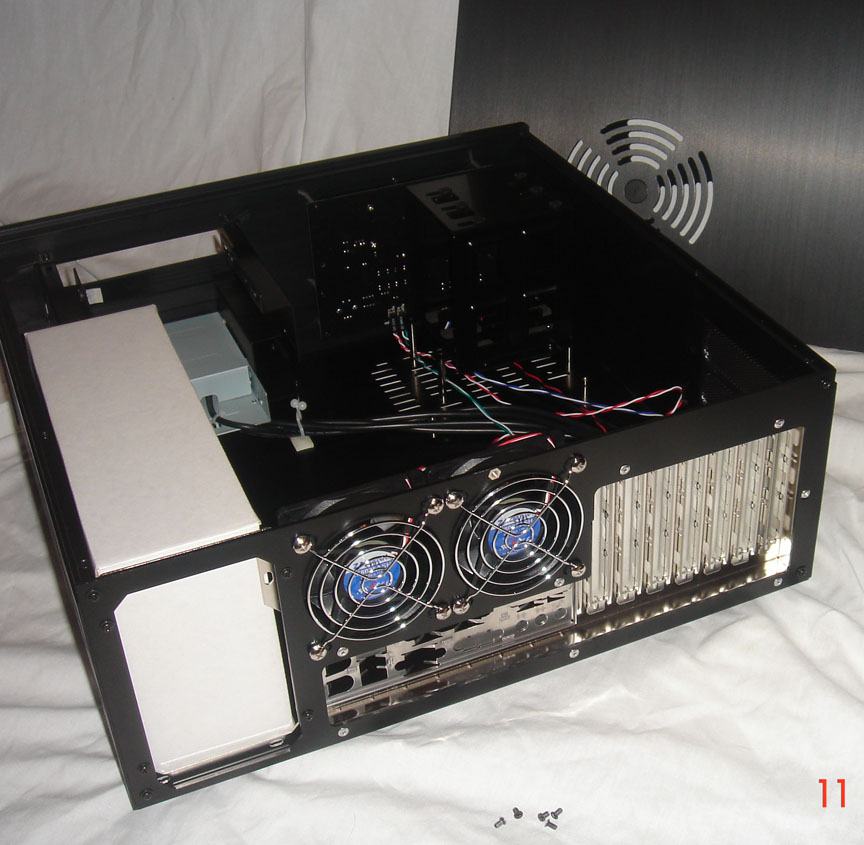
Now, let's open the case up and see what it has to offer. This is where I found my first little "problem", however. Upon attempting to open the case, I found that I actually had to go and find a screwdriver! I would need to use it several times during the course this build. This isn't really so much of a "problem" as it is an "inconvenience". Now most cases today come with thumb screws, snap on drive rails, and push button removable drive cages. It turns, however, that a majority of HTPC cases are set up using normal screws. Having normal screws as opposed to thumb screws and drive rails helps to lower the ambient noise coming from the case, a feature which is very important for HTPCs. I think that most computer enthusiasts today, myself included, have gotten pretty spoiled with all of the "easy open" cases and the "tool-less case builds. So, needless to say, the build process to a little longer, and required a little more wrist action, than I had expected.
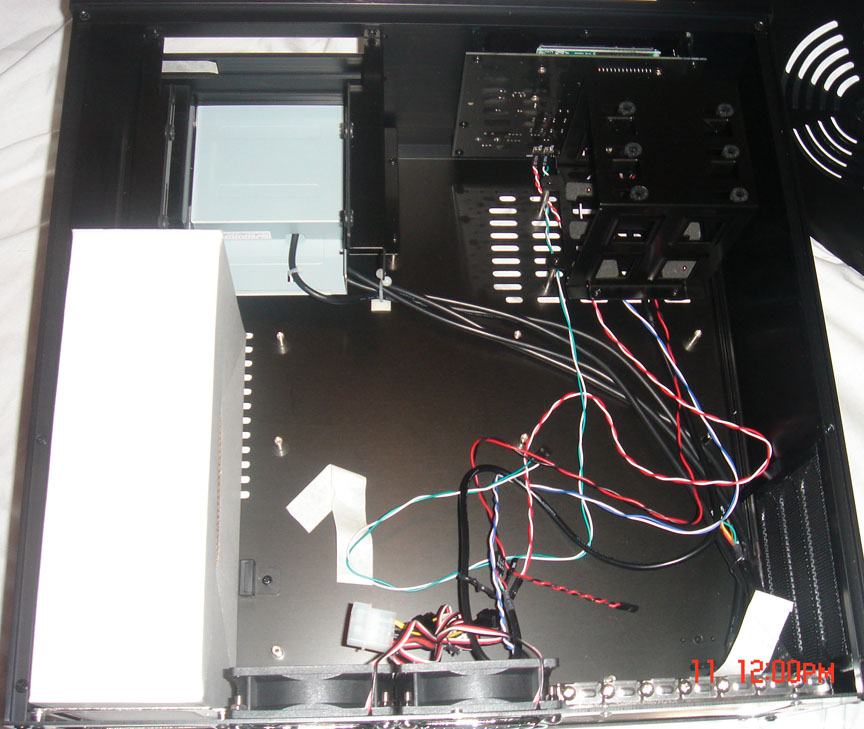
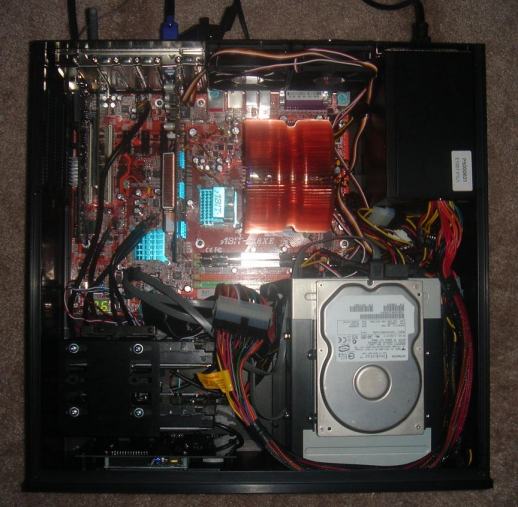
Once I had opened the case I found everything on the inside to be fairly straight forward. Each of the drive bays were held in by 4 screws, the case already had the fans and motherboard supports mounted, and the card reader was already in place. All I would have to do is screw all the hardware into place.
I found that the PSU and the mobo fit right into place, so I then proceeded to the drive bays. The hard drive bay had room for 3 separate drives, and included rubber shock absorbers to eliminate vibration noise. The other drive cage has room for your optical drive, an additional hard drive, and if you choose to do so, you can remove the card reader and install a floppy drive.
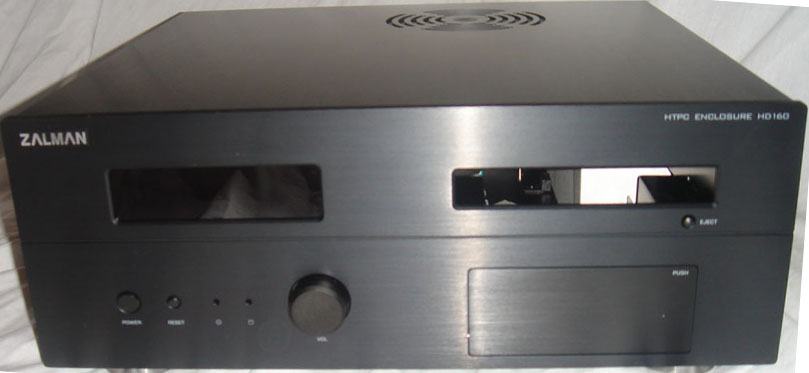
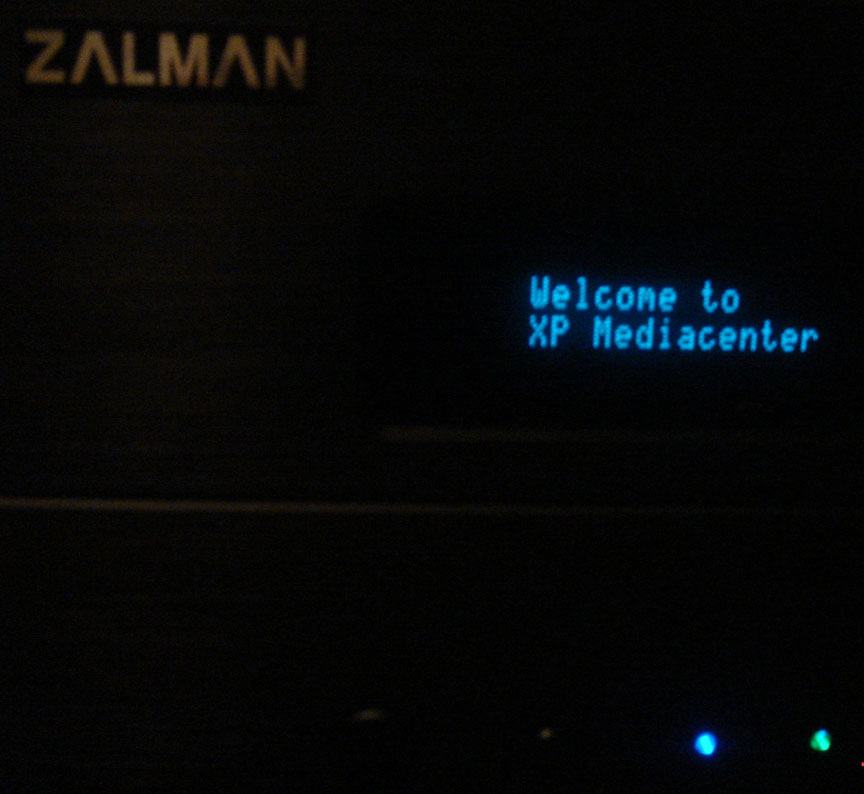
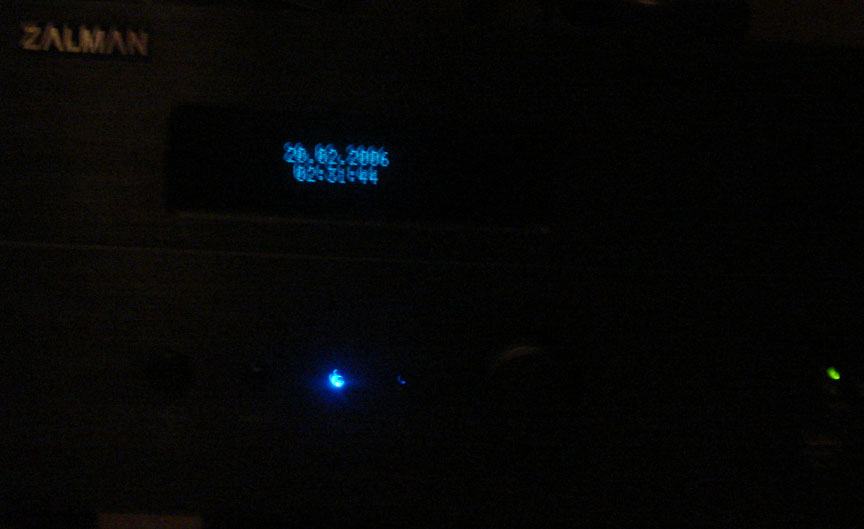
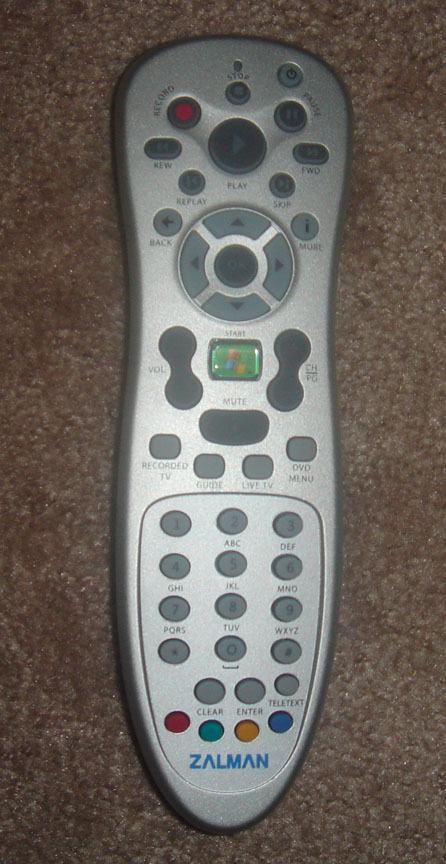
The case comes 100% Windows Media Center compatible right out of the box. The front of the case has a display which shows the time and date, or information on any media that is currently playing, and it serves as a receiver for the Windows Media Center remote, which is also included. Well, of course, I HAD to try this feature out, so I obtained a copy of Windows Media Center and a video capture card just for this purpose. After installing Media Center, all I had to do was install the included "IR Trans" software for the receiver, then I had a fully functional "Home Theatre" PC.

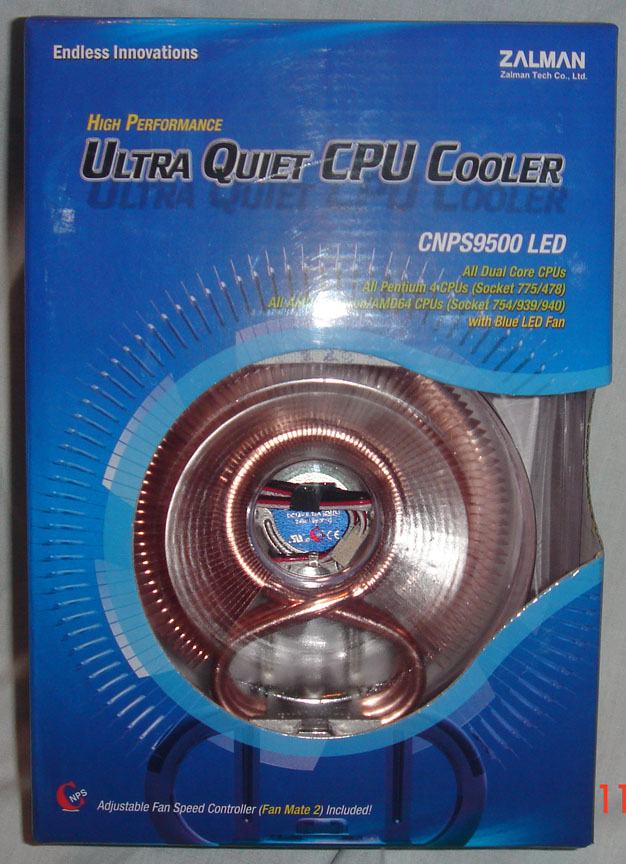
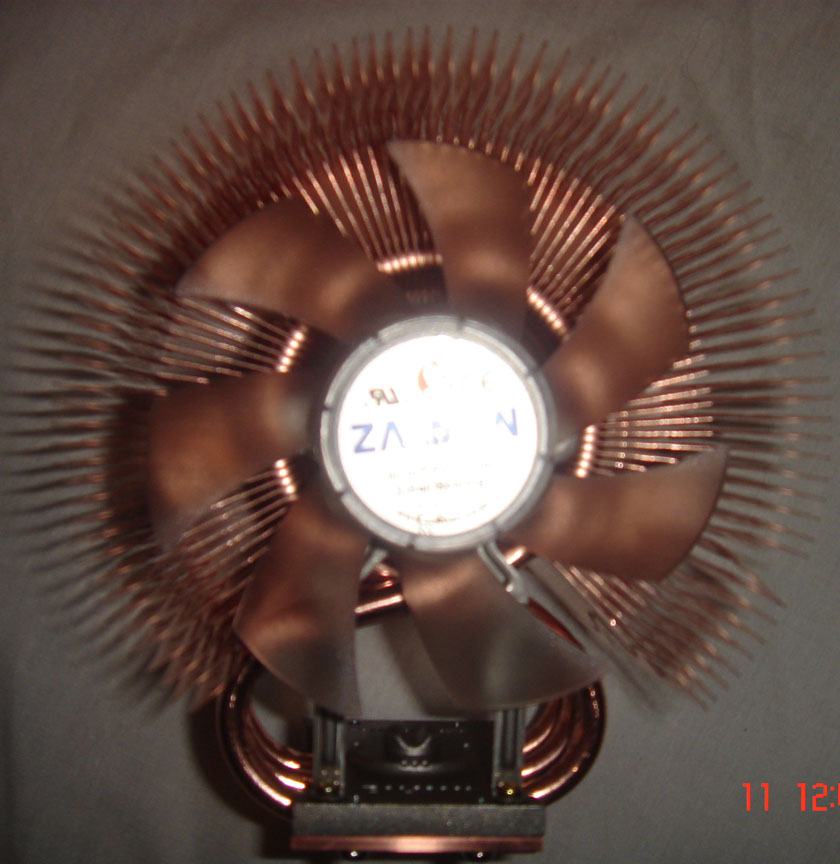
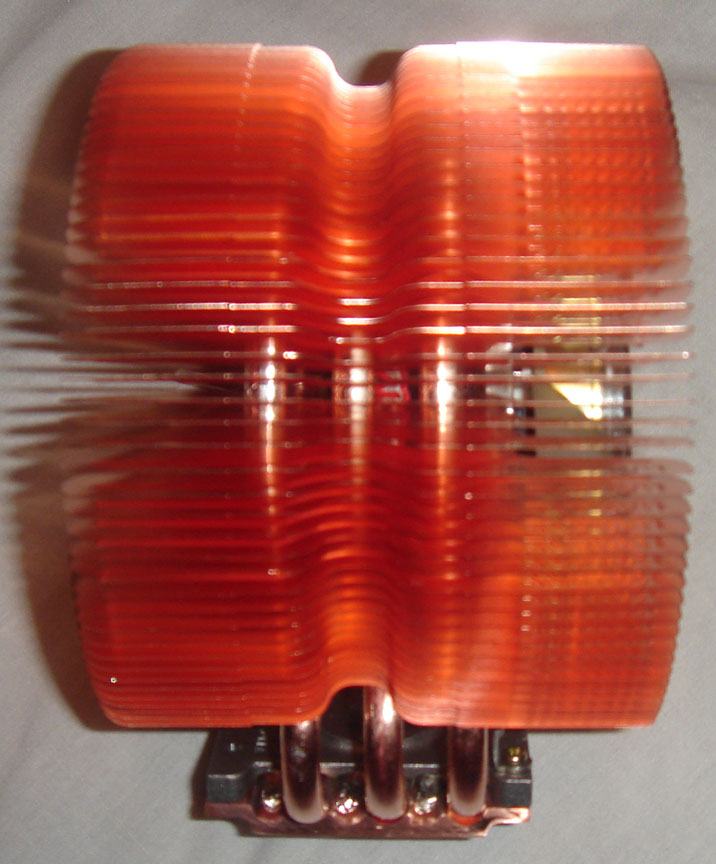
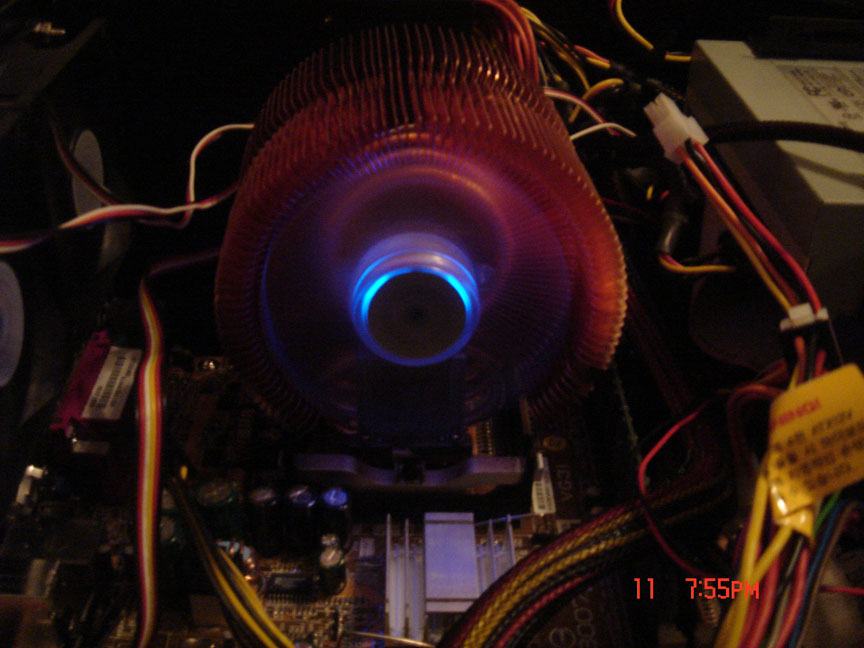
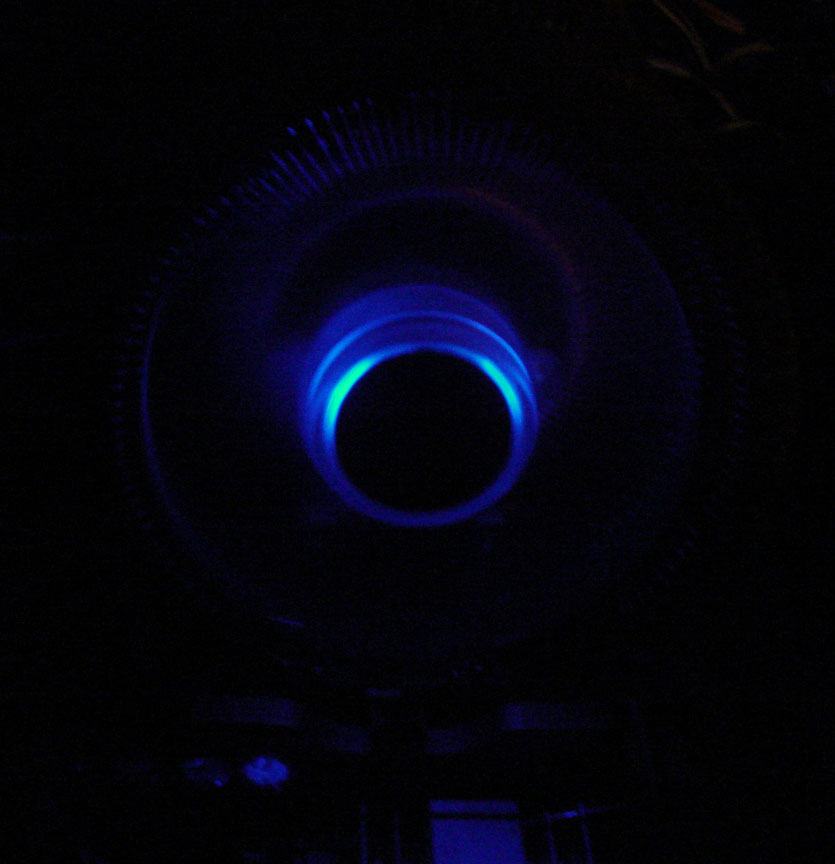
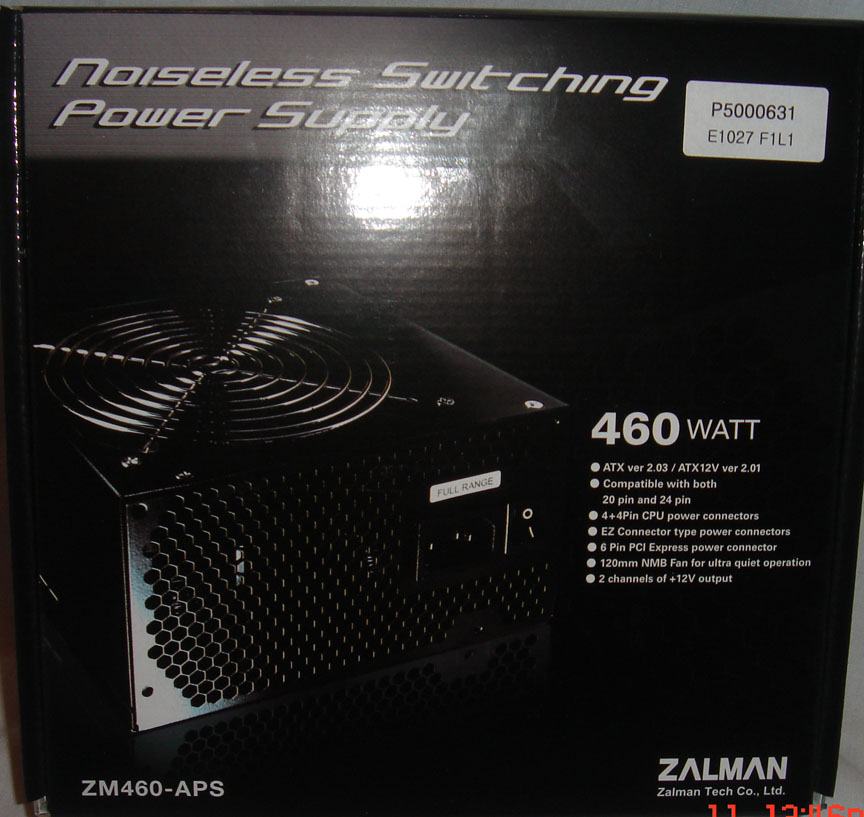
The other feature that really impressed me with this case is its "Ultra Quiet" operation. When you combine this case with other "Ultra Quiet" components, it is whisper quiet. Luckily, ZALMAN was generous enough to supply me with their ZM460-APS power supply unit, and their CNP9500 LED CPU cooler. I was rather impressed with these two items. The PSU is a solid black, 460W, "noiseless" power supply with pre-wrapped cables, and an included cable tie. The CPU cooler was a very innovative passive bent heatpipe design that was cooled by a massive fanned copper heatsink, which was actively cooled by an ultra quiet 92mm opaque fan, which included blue LEDs for a little extra bling. Well, after I installed all of these "ultra quiet" components, I booted up the machine, and sure enough, it was VERY quiet. In fact, if it weren't for the fans spinning, and the blue LED from the CPU cooler, I wouldn't have known it was on at all! In fact, the loudest components in my computer right now are the fan on my video card, and my Raptor hard drives. ZALMAN apparently knows what they are doing when it comes to keeping it quiet.

I then decided to see how these low RPM "ultra quiet" fans would handle a load. So I installed Motherboard Monitor 5, turned on the Media Center, and let that baby run and record for a couple hours. The average temps with the CPU fan set to its lowest speed were 76°C (CPU), and 45°C (case). When I turned up the CPU fan to the max the temps dropped to an average of 67°C (CPU) and 44°C (case)

Overall, this is a pretty impressive HTPC case. It succeeds in meeting the top requirements for most HTPC enthusiasts. The case is exceptionally quiet, and it will blend in very nicely with the rest of your home theatre equipment. Here is a breakdown with the pros and cons:
PROS
- Media Center ready
- Ultra Quiet cooling
- Sturdy anodized design
- Luxurious look that blends well with other home theatre equipment
CONS
- Lack of a cable management system (built in case ties, cable rails)
- Drive cover is held on with tape
- More screws than most HTPCs
- A few problems installing the IR-Trans software (had to manually install the drivers off the CD)
As far as Home Theatre PCs go, this is a very nice choice, and I rate it 8 out of 10.
Added: February 21st 2006
Product reviewed: Zalman HD160 HTPC Case
Reviewer: Robert McElroy
Score: 8/10