Cooler Master Silencio 650 review
By default, the hinged door opens to the right but one of the cool things about this case is that the opening direction can easily be reversed. The door is covered with a layer of noise absorbing foam and there's one magnet in each of the four corners to ensure that the door can't open by itself when you move the case.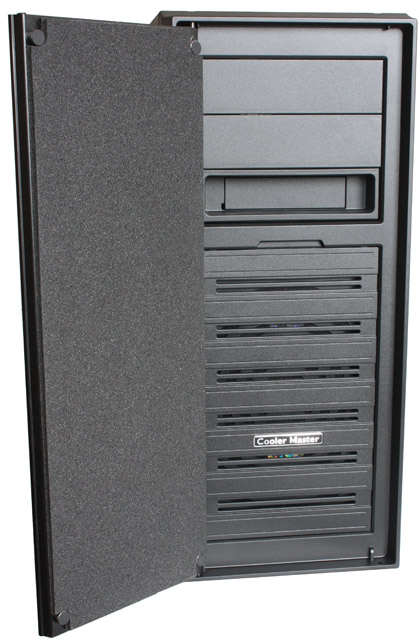
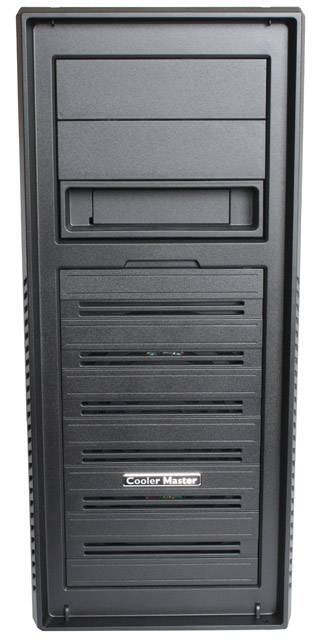
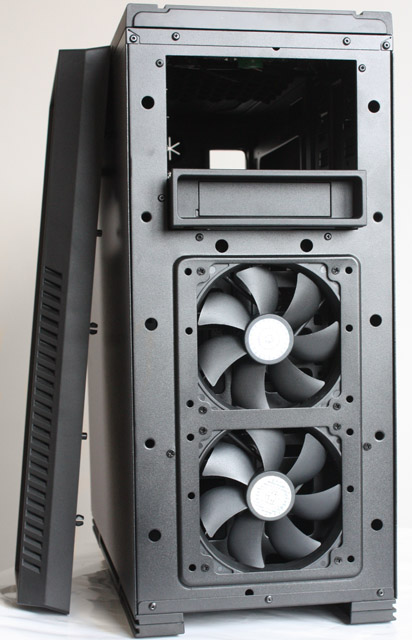
For the next photo I removed the front door to provide a clear view of the case's front. Made from plastic, it consists of two 5.25" drive bays, one hot-swap 2.5/3.5" X-Dock, and a large plastic vent that hides the two 120mm front fans.
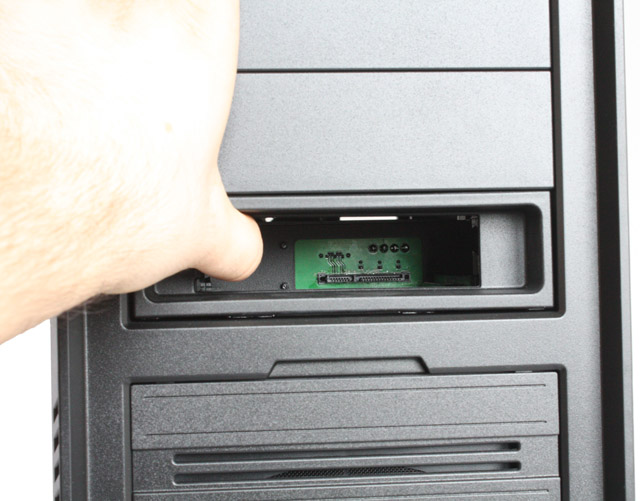
Most of the hot-swap HDD docks I've seen were located on the top side of computer cases but Cooler Master implements the concept differently in the Silencio 650 by converting a 5.25" bay into a hot-swap 2.5"/3.5" X-Dock. You can slide a 3.5" disk into the bay without extra tools, but for a 2.5" disk you need to use the included disk caddy. The X-Dock is secured to the 5.25" bay with regular screws, so if you don't plan on using this feature you can remove the X-Dock to free up an additional 5.25" bay.
The front vent can easily be removed so you can regularly clean the dust filter.
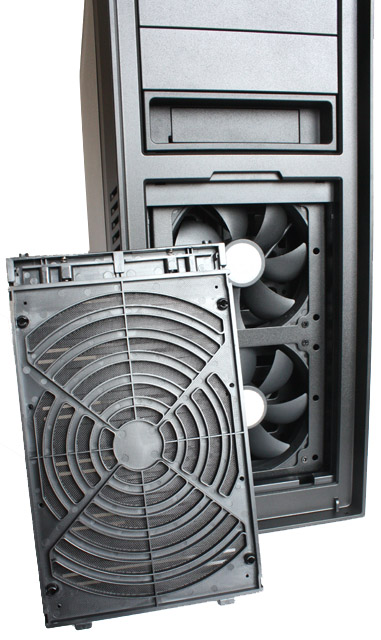
After removing the entire front panel we have a clear view of the Silencio 650's all-black steel chassis, the drive bays, the X-Dock and the two 120mm fans.
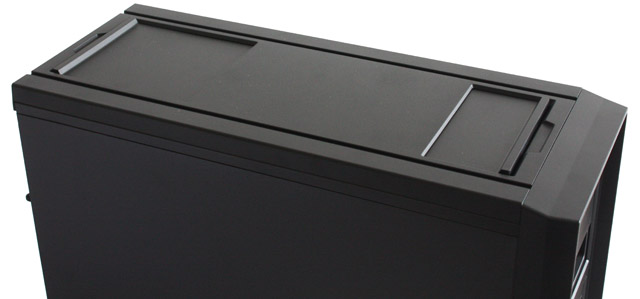
The top of the case looks rather clean, it features two sliding doors that hide the I/O panel and the top fan vent.
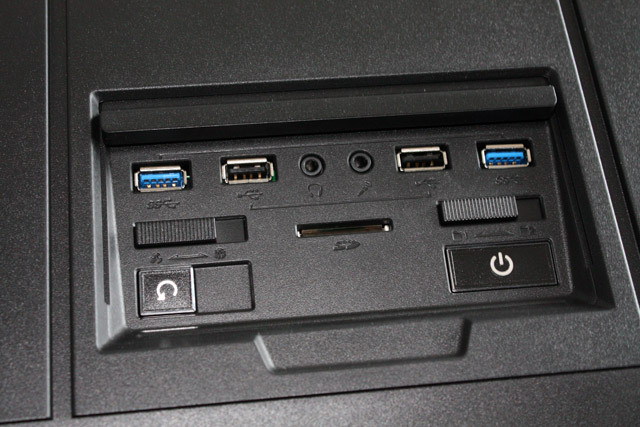
The front I/O panel is packed with features. The upper row features two USB 3.0 ports, two USB 2.0 ports and HD audio ports. The next row features a fan controller to control the speed of the three bundled fans between 700RPM and 1200RPM, an SD memory card reader and a dual-boot HDD switch. This HDD selector lets you decide before you bootup which disk you want to use, slide the switch to the left to boot HDD 1, and to the right to boot from HDD 2.
Personally, I don't really see the point of this switch, hitting the F12 button during bootup is just as effective, so in my eyes the switch (and the included PCB) does little but adding unnecessary cost to an already expensive case. What I also dislike about the HDD selector switch is that it's exactly the same as the fan controller switch, this may cause some confusion in low-light situations.
Last but not least, the I/O panel also has the power button and a reset switch, plus two subtle LED indicator light bars that are somewhat hidden from view.
The top fan vent is hidden behind a door, if required you can install a 120/140mm fan in this location. Cooler Master covered this vent with a door to prevent noise from leaking out of your case, as well as to keep dust out.

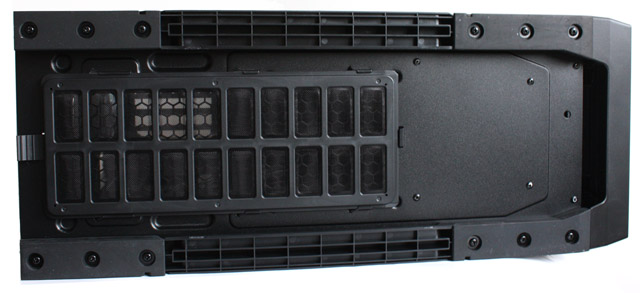
The bottom of the case features four rubber feet to prevent the case from scratching your desk and to eliminate vibration noise. There's also a large dust filter, it protects the intake fan of your power supply as well as an optional 120mm fan.
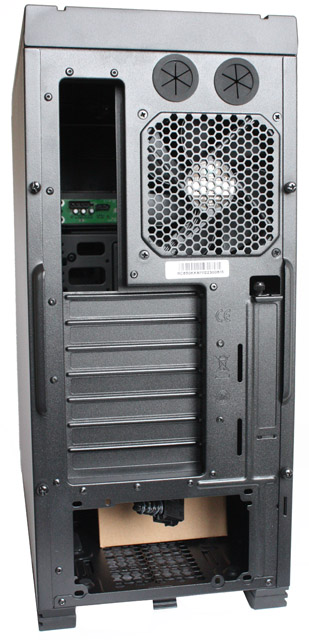
Like the rest of the chassis, the rear is all-black. The power supply is mounted in the bottom of the case and there's a large honeycomb-shaped vent for the 120mm rear exhaust fan. There are seven PCI slots, a vertical PCI slot and two pre-made cut-outs for watercooling tubes. The vertical PCI slot can be used to install devices that don't require a real PCIe slot like a bracket with a fan controller knob.
 Previous Page (1/4)
Added: December 25th 2012
Product reviewed: Cooler Master Silencio 650
Reviewer: Thomas De Maesschalck
Score: 9/10
Page: 2/4